Are you looking to add a personal touch to your festive décor this season? Nothing captures the magic of Christmas quite like a beautifully arranged display of stockings. Creating a DIY Christmas stockings wall isn’t just a fun project it’s a way to establish a heartwarming tradition that your family will cherish for years to come. With just a few materials and some creativity,
you can transform an ordinary wall into a stunning holiday focal point that showcases your personal style while saving money on expensive store-bought decorations.
Table of Contents
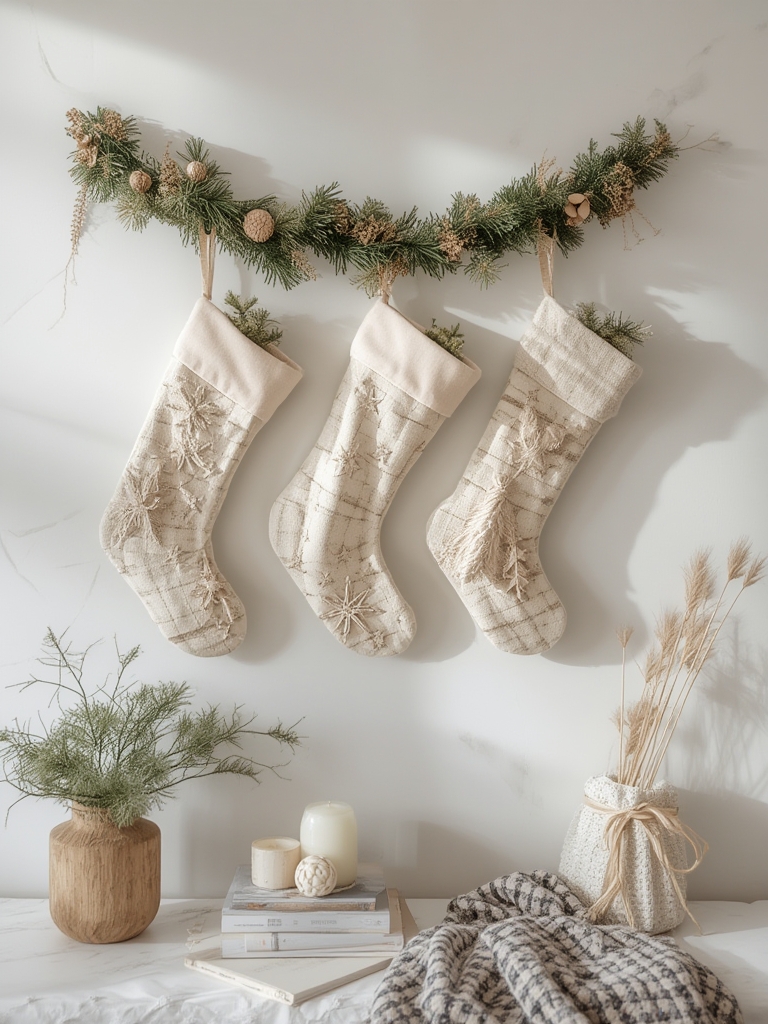
14 DIY Christmas Stockings Wall Ideas for Holiday Magic
Materials & Supplies Needed
- Stockings (store-bought or homemade, 1 per family member)
- Wooden board (6-8 feet long, depending on your wall space)
- Stocking holders or sturdy hooks (1 per stocking)
- Garland or greenery (8-10 feet)
- String lights (1-2 strands of warm white lights)
- Adhesive Command hooks or picture hanging kit
- Decorative elements (pine cones, berries, ornaments)
- Letter stencils or wooden letters (for personalization)
- Acrylic paint and brushes
- Glue gun and glue sticks
- Ruler and pencil
- Drill and screws (if mounting board to wall)
- Ribbon or twine (for hanging stockings without a board)
- Optional: fabric scraps, buttons, and embellishments for Christmas stocking crafts, holiday stockings, personalized stockings, stocking wall display
Time Requirements
- Prep time: 1-2 hours (gathering materials, measuring, planning layout)
- Crafting time: 3-4 hours (depends on complexity of your design)
- Drying/installation time: 1 hour (allow additional time if painting or staining wood)
- Total time: About 5-7 hours, can be spread across a weekend
Step-by-Step Instructions
Plan your layout: Measure your wall space and decide whether you’ll use a wooden board, a garland, or simply hooks for your stocking display.
Prepare your base: If using a wooden board, sand the edges smooth and apply paint or stain if desired. Allow to dry completely before proceeding.
Mount your display: Securely attach your board to the wall using appropriate hardware, or install Command hooks for a no-drill option. Ensure everything is level using a spirit level.
Add greenery: Attach your garland along the top of the board or directly to the wall. Weave string lights through the greenery for a magical glow.
Install stocking holders: Space your hooks or holders evenly along your display. If using a board, pre-drill holes to prevent splitting the wood.
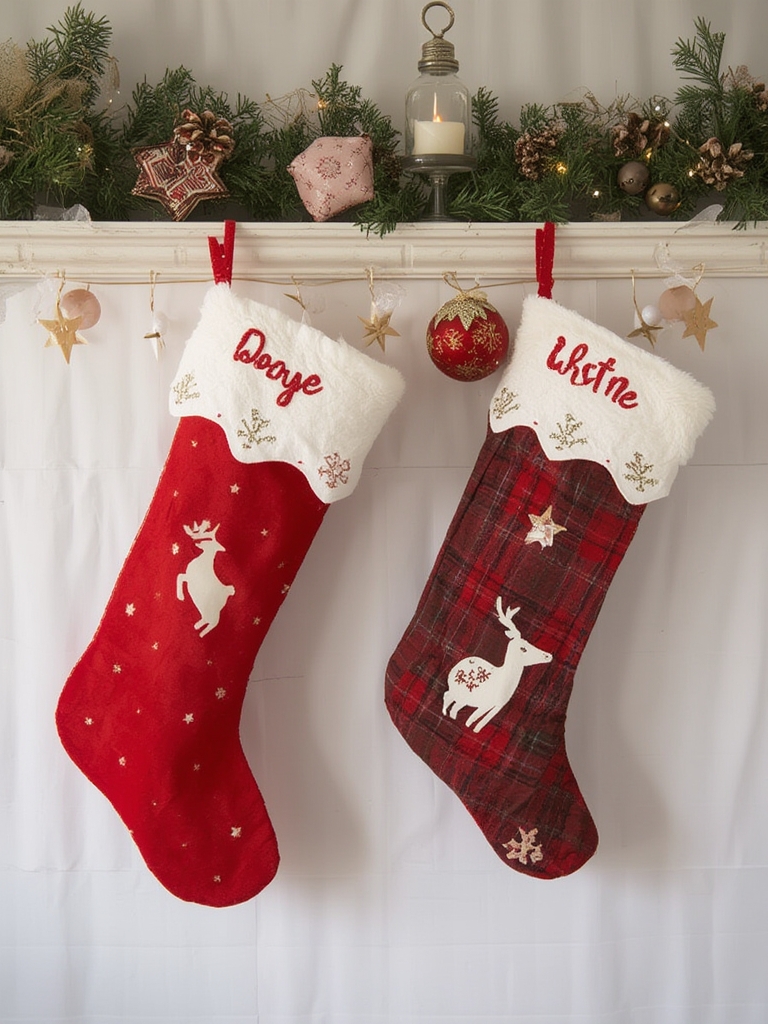
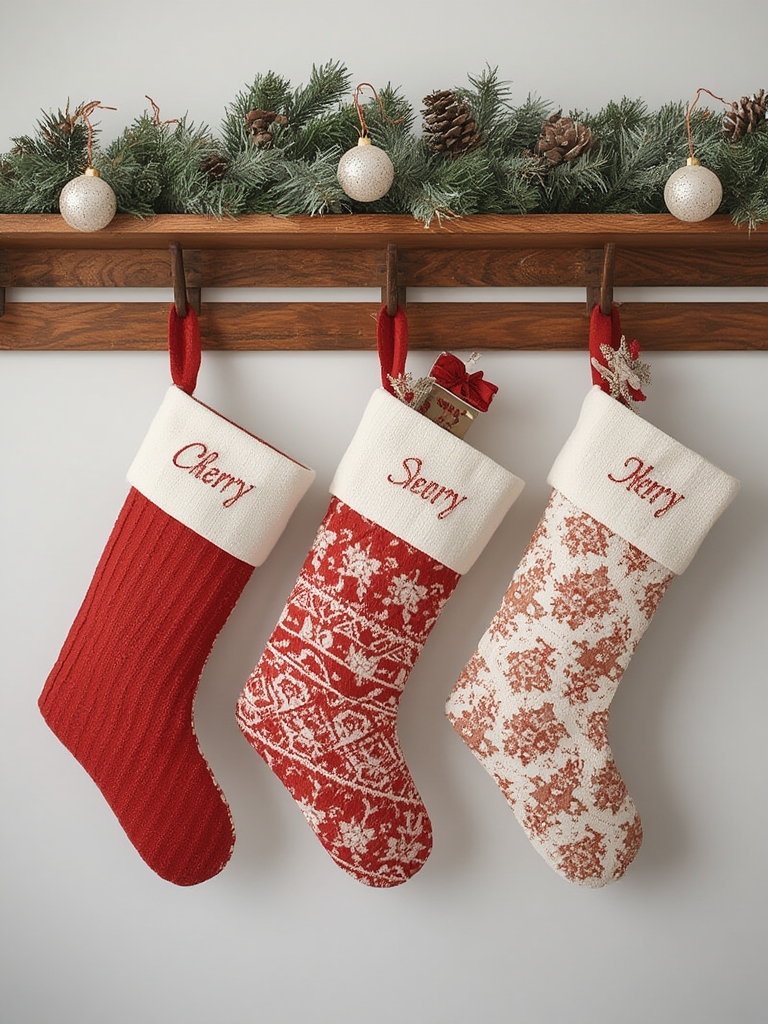
Personalize your stockings: Add names using fabric paint, embroidery, or attach wooden letters to each stocking for a personal touch.
Hang your stockings: Carefully arrange each stocking on its designated hook, adjusting spacing for an even look.
Add final touches: Incorporate pine cones, ornaments, or other decorative elements to enhance your display and fill any empty spaces.
Benefits of DIY Home Decor
Creating your own Christmas stocking wall offers remarkable cost savings compared to pre-made holiday displays. You’ll enjoy the freedom to customize every element to perfectly match your home’s aesthetic while crafting something truly unique. This project also promotes sustainability by repurposing materials you might already have, reducing holiday waste and packaging.
Styling Tips & Design Variations
- Minimalist: Use white stockings against a dark board with simple greenery for a modern look
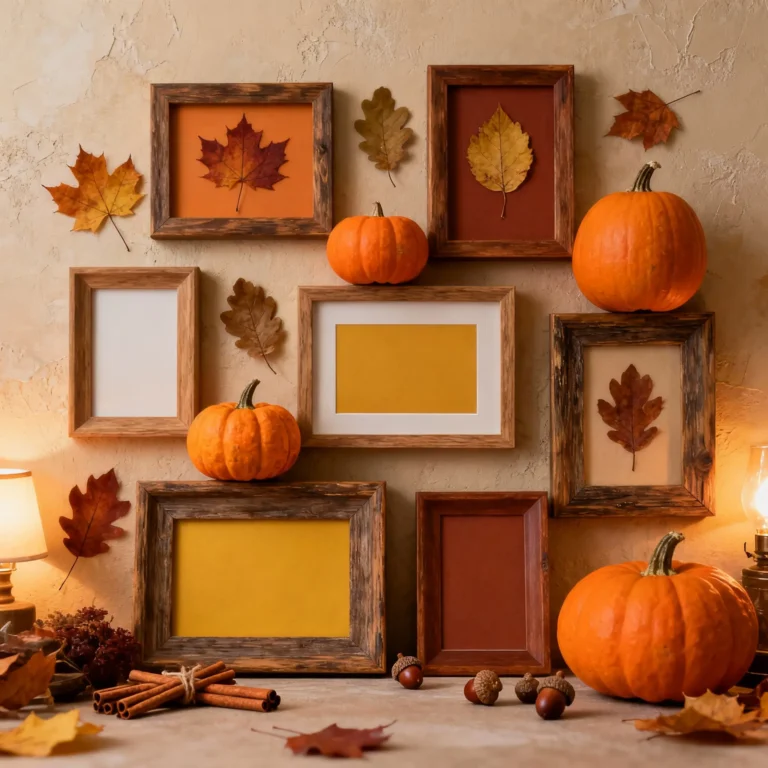
- Rustic charm: Incorporate burlap stockings, twine, and natural elements like pinecones
- Color-coordinated: Choose stockings in complementary colors that match your existing décor
- Vertical display: For limited wall space, create a vertical “stocking ladder” using an old wooden ladder
- Mantel-free solution: Perfect for homes without fireplaces but still wanting the traditional stocking display
Common Mistakes to Avoid
- Insufficient support: Ensure your hanging method can support filled stockings—they get heavy!
- Overcrowding: Leave adequate space between stockings for a balanced look
- Poor lighting: Position your display where it can be properly lit and appreciated
- Forgetting fur babies: Don’t forget to include stockings for pets to make the whole family feel included
Care & Maintenance
Store your stocking wall components carefully after the holidays to prevent damage. Keep stockings in breathable cloth bags to prevent musty odors. Clean hooks and boards before storing, and check lights for broken bulbs. Consider taking photos of your setup to remember the arrangement for next year.
Conclusion
A DIY Christmas stocking wall creates a magical focal point that captures the essence of holiday traditions while showcasing your creativity. This project offers endless possibilities for personalization while creating a dedicated space for one of Christmas morning’s most cherished rituals. Get the whole family involved in the creation process to make memories that will last far beyond the holiday season.
FAQs
Can I create a stocking wall without drilling into my walls?
Yes! Command hooks or over-the-door hangers offer excellent no-damage solutions for renters or those who prefer not to drill.
How many stockings can I fit on a standard wall display?
Typically, a 6-foot board comfortably fits 5-7 stockings, depending on their size and your spacing preferences.
What’s the best way to personalize stockings for family members?
Iron-on letters, fabric paint, embroidery, and removable wooden tags all work beautifully and can be adjusted as family grows.
Can I create a stocking wall if I’m not particularly crafty?
Absolutely! Start with pre-made stockings and simple hooks—the arrangement itself creates the impact, even without advanced crafting skills.