Are you looking for a way to transform your home into a magical holiday wonderland without breaking the bank? The soft, enchanting glow of Christmas light wall displays can instantly elevate your holiday décor from ordinary to extraordinary. With the right approach, these luminous creations become conversation starters that mesmerize guests and create an unforgettable festive atmosphere.
The beauty of DIY light displays lies in their versatility and affordability—you can customize them to fit any space, style, or budget while adding that personal touch that store-bought decorations simply can’t match.
Table of Contents
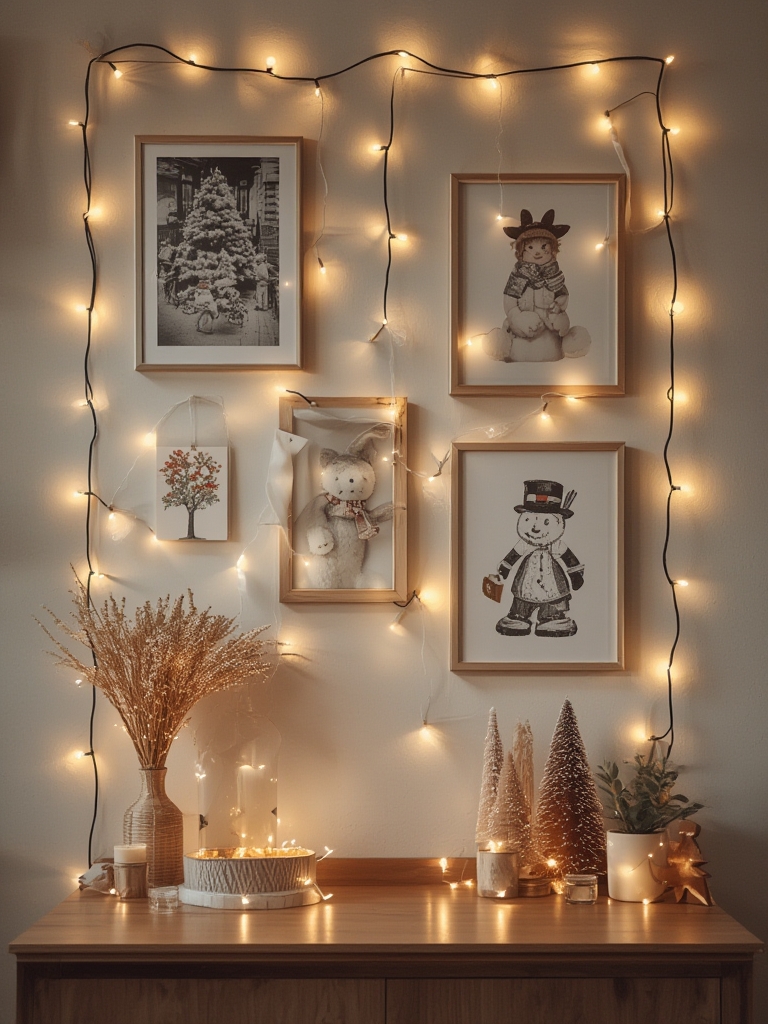
19 Stunning Christmas Light Wall Displays That Wow Guests
Materials & Supplies Needed
- 3-5 sets of Christmas string lights, holiday light displays, fairy light decor, festive lighting ideas (warm white or multi-colored)
- Command hooks or adhesive clips (15-20, depending on display size)
- Clear fishing line or thin wire (1 roll)
- White poster board or foam board (optional, for backing)
- Scissors
- Measuring tape
- Pencil and paper (for sketching designs)
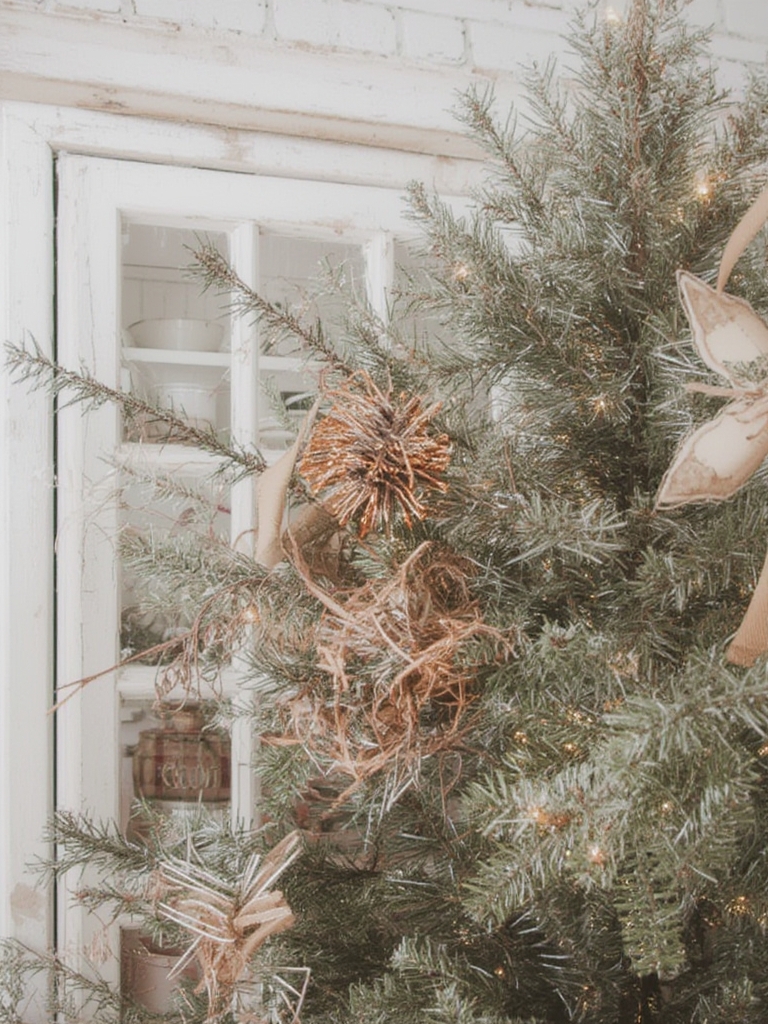
- Optional embellishments: artificial greenery, paper snowflakes, small ornaments
- Battery packs (for areas without outlets)
- Timer adapters (for automatic on/off scheduling)
- Extension cords (if needed)
Time Requirements
- Planning and design: 30 minutes – 1 hour
- Setup and installation: 1-3 hours (depending on complexity)
- Adjustments and finishing touches: 30 minutes
- Total project time: 2-4.5 hours
Allow extra time for any DIY additions like handmade snowflakes or special patterns. First-time creators should plan for a full afternoon to avoid rushing through the process.
Step-by-Step Instructions
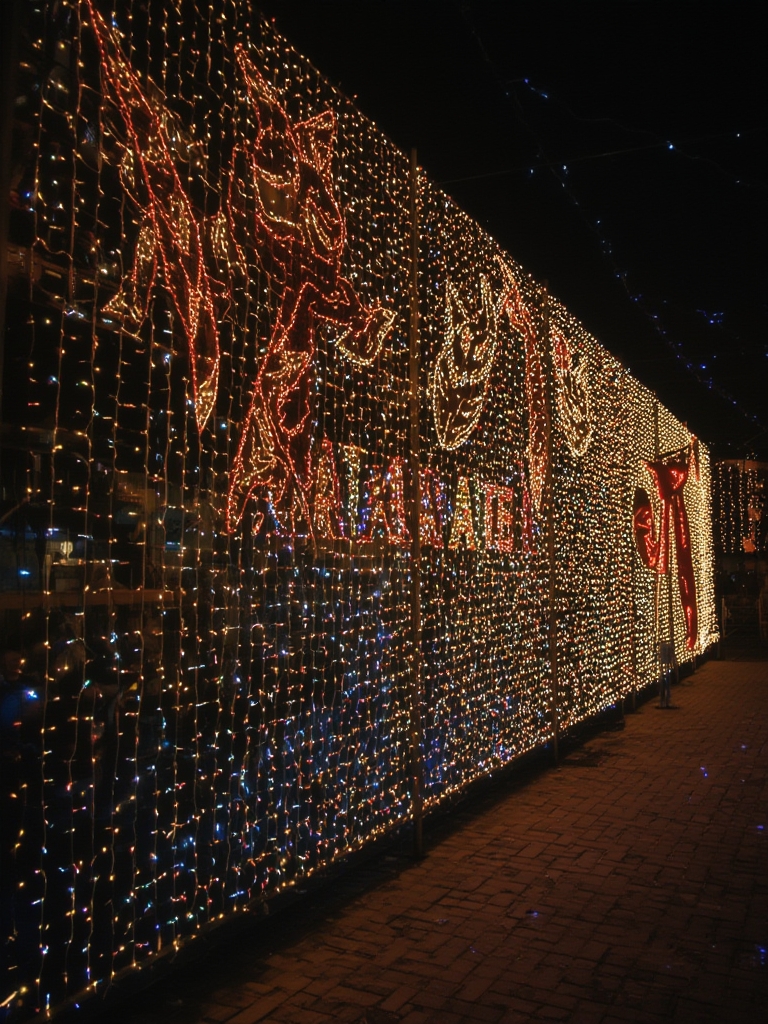
Plan your design: Sketch your intended pattern on paper. Popular options include Christmas trees, stars, geometric patterns, or word art like “Joy” or “Noel.”
Measure your wall space: Use a measuring tape to determine the dimensions available for your display. Transfer these measurements to your sketch to ensure proper scaling.
Prepare your lights: Untangle all light strings and test each set to ensure all bulbs are working. Replace any damaged bulbs before installation.
Mark your pattern: Using small, removable pencil marks or painter’s tape, create guide points on your wall following your design.
Install anchor points: Place Command hooks or adhesive clips at key points in your design. For complex patterns, position hooks every 12-18 inches along your intended light path.
Secure the lights: Starting from the nearest outlet, begin attaching lights to your hooks. Work methodically to avoid tangles and maintain even spacing.
Create depth (optional): For a 3D effect, use fishing line to suspend some lights away from the wall at varying distances
Add embellishments: Attach complementary elements like paper snowflakes or small ornaments to enhance your display.
Test and adjust: Turn on your lights and view from different angles, making adjustments to ensure even distribution and visual appeal.
Benefits of DIY Home Decor
Creating your own light displays offers numerous advantages beyond just saving money. These displays can be perfectly customized to your specific wall dimensions and room aesthetic. They’re also eco-friendly when you use LED lights, consuming less energy than traditional decorations while creating maximum impact. Perhaps most importantly, they create an emotional connection to your space—there’s genuine pride in watching visitors’ faces light up when they experience your handcrafted creation.
Styling Tips & Design Variations
- Minimalist approach: Create simple geometric shapes using white lights against a dark wall
- Color themes: Coordinate light colors with your existing décor (blue and silver, traditional red and green)
- Room-specific designs: Create a starry night ceiling in bedrooms or a gift-wrapped effect on kitchen cabinets
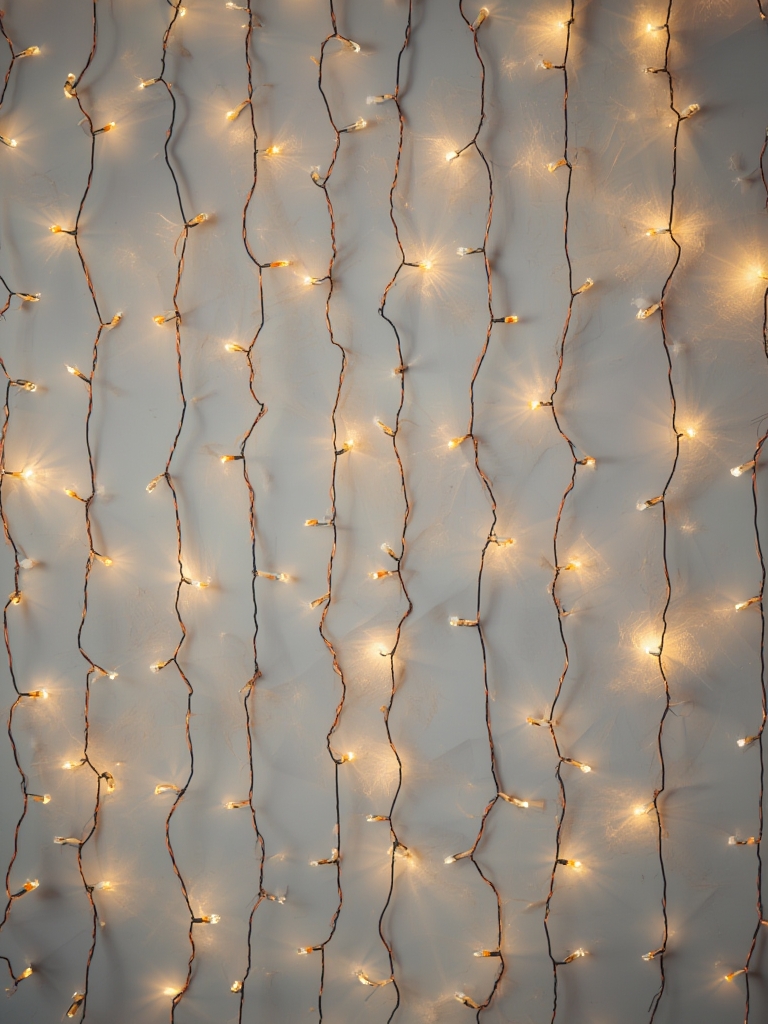
- Backdrop variations: Mount lights on transparent tulle fabric for a floating effect
- Ombre effect: Combine different colored lights that fade from one hue to another
Common Mistakes to Avoid
- Overloading circuits: Don’t connect more than 3-4 light sets to a single outlet
- Ignoring safety: Keep lights away from flammable materials and water sources
- Poor planning: Measure twice before installing to avoid awkward spacing
- Damaging walls: Use appropriate removable adhesives to prevent paint damage
- Tangled implementation: Work systematically from one end to avoid frustrating tangles
Care & Maintenance
Store lights properly after the season by wrapping them around cardboard pieces or empty paper towel rolls to prevent tangling. When removing from walls, detach carefully to avoid damaging the lights or your walls. For year-round displays, dust occasionally with a soft, dry cloth and check connections periodically to ensure safety.
Conclusion
These enchanting light displays bring warmth and wonder to your home while showcasing your creativity. The beauty lies in their simplicity—with basic materials and a few hours, you can create a custom light installation that captivates everyone who enters your space. Don’t be surprised if your magical wall display becomes a cherished tradition that family and friends look forward to each year!
FAQs
Can I create these displays in rental properties?
Absolutely! Using removable adhesive hooks ensures no damage to walls, making these perfect for rentals.
How can I hide the cords for a cleaner look?
Use clear cord covers, paint cords to match your wall, or strategically place greenery to camouflage them.
Are these displays safe to leave on overnight?
When using quality LED lights with timer adapters, they’re safe for extended use. Always turn off when leaving home.
Can I create these displays outdoors on exterior walls?
Yes, but ensure you use lights and adhesives rated for outdoor use to withstand weather conditions.