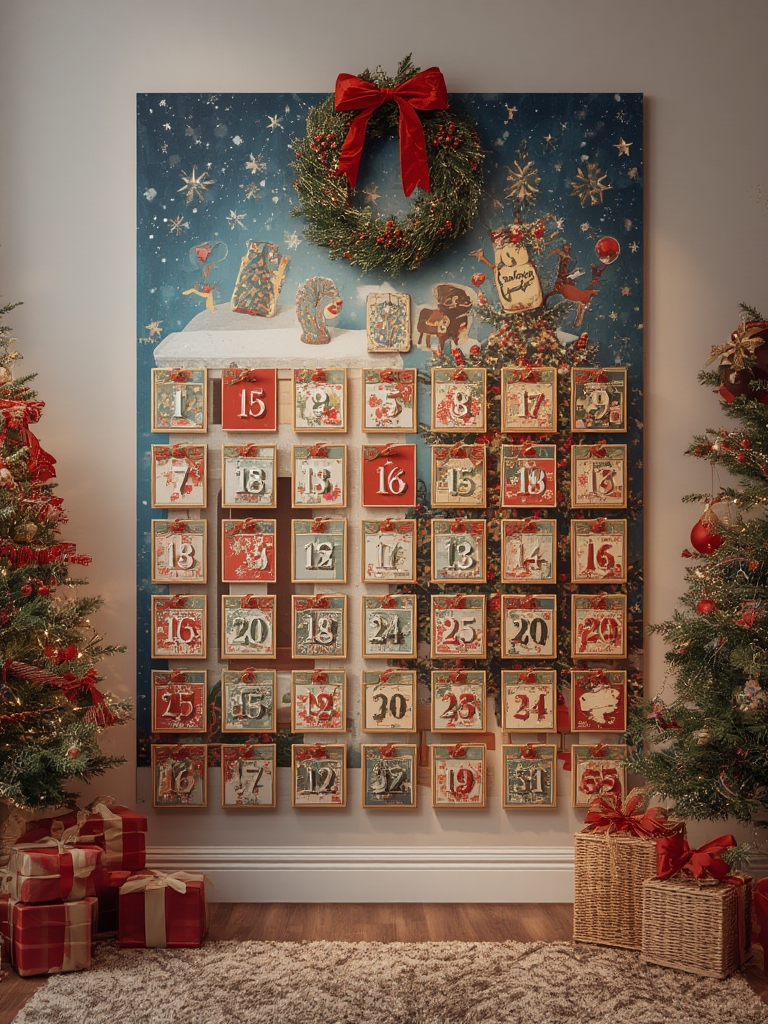
Are you dreaming of a festive home this holiday season but worried about your security deposit? You’re not alone! Many renters struggle to find ways to deck the halls without damaging walls or breaking lease agreements. Creating your own Christmas wall stickers DIY decorations is the perfect solution! Not only are these projects budget-friendly,
but they also allow for complete customization to match your personal style. Best of all, these removable Christmas decor, wall decals Christmas, temporary holiday decor, rental friendly options leave no damage behind when it’s time to take them down.
Table of Contents
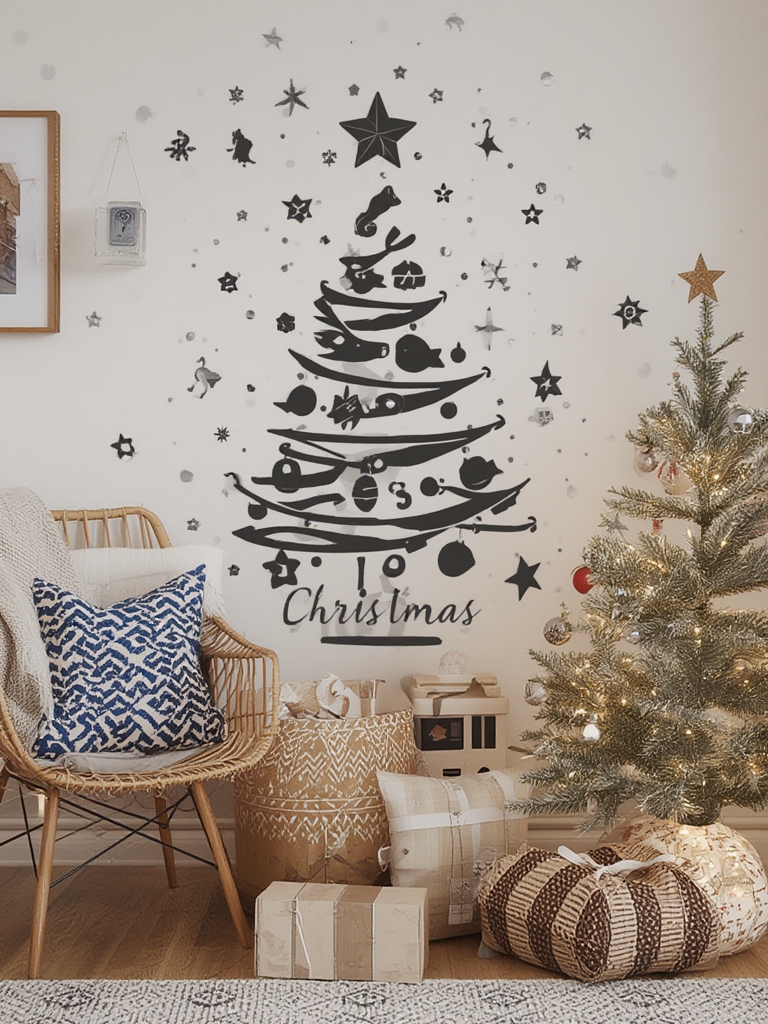
13 Removable Christmas Wall Stickers DIY for Renters
Materials & Supplies Needed
- Removable adhesive (like washi tape, poster putty, or removable glue dots)
- Cardstock or construction paper in festive colors (red, green, white, gold)
- Scissors or craft knife
- Cutting mat (if using a craft knife)
- Pencil and ruler
- Stencils (optional)
- Decorative items like glitter, sequins, or small ornaments
- Clear contact paper or laminating sheets (optional for durability)
- Painter’s tape (for creating straight lines)
- Measuring tape
- Computer and printer (for printing templates)
- Paintbrushes and water-based paints (optional)
Time Requirements
Most of these DIY wall sticker projects take between 1-3 hours to complete, depending on complexity and drying time. Plan to set aside about 30 minutes for preparation and gathering supplies, 1-2 hours for the actual crafting, and potentially 1-2 hours for drying if using paint or adhesives that require curing time. For best results, start your project at least one day before you want to display the decorations.
Step-by-Step Instructions
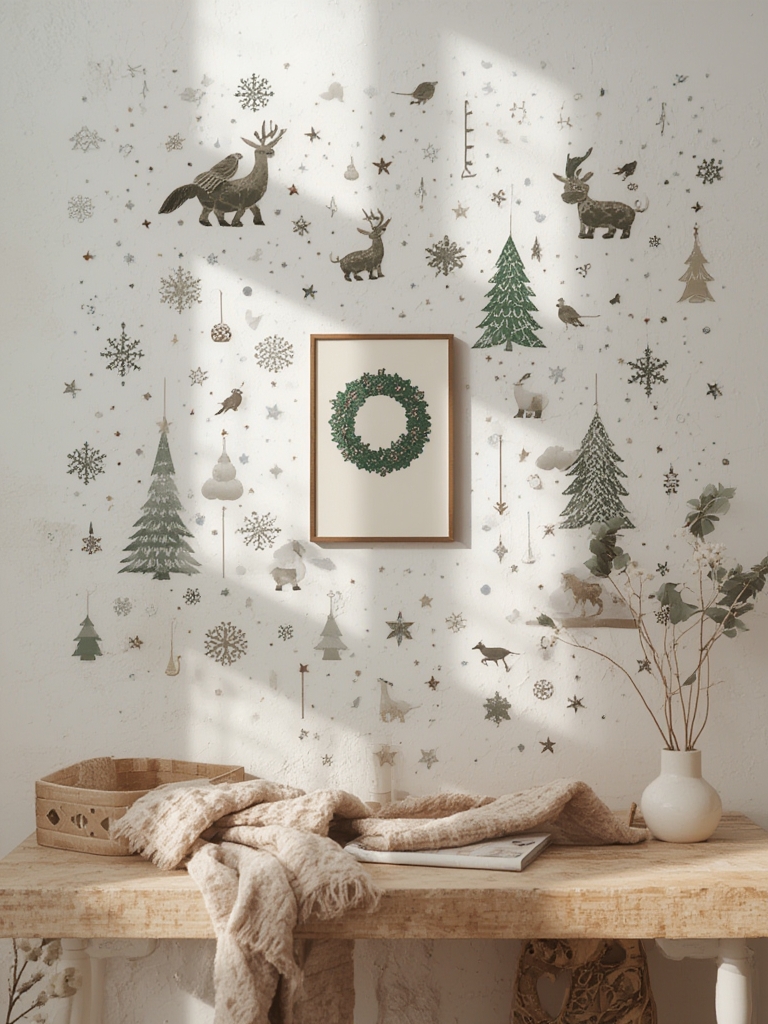
Design and plan your stickers: Sketch out your ideas or find templates online. Popular options include snowflakes, Christmas trees, ornaments, or holiday phrases.
Prepare your materials: Cut cardstock to manageable sizes and gather all supplies in your workspace.
Create your templates: Either draw directly onto cardstock or print templates from your computer and trace onto colored paper.
Cut out your designs: Use scissors for simple shapes or a craft knife for intricate details. Work on a cutting mat to protect surfaces.
Add decorative elements: Embellish with glitter, paint accents, or small decorations for dimension.
Apply removable adhesive: Add small amounts of removable adhesive to the back of each sticker. If using washi tape, create a loop with the sticky side out.
Test on a small area: Before applying all stickers, test one in an inconspicuous area to ensure it removes cleanly.
Arrange on your wall: Use a measuring tape and level to create balanced designs. Start from the center and work outward.
Press firmly but gently: Secure each sticker by pressing from the center outward to remove air bubbles.
Step back and adjust: View your arrangement from different angles and make adjustments as needed.
Benefits of DIY Home Decor
Creating your own removable wall stickers offers numerous advantages. You’ll save significantly compared to store-bought options, with most projects costing under $20. The customization possibilities are endless—match your existing decor perfectly instead of settling for mass-produced designs. It’s also an eco-friendly option that reduces packaging waste, and the sense of accomplishment when guests compliment your handiwork is priceless!
Styling Tips & Design Variations
- Nordic Minimalist: Create simple white snowflakes and stars for a clean, Scandinavian look
- Vintage Christmas: Use kraft paper and traditional designs like holly, candy canes, or vintage Santas
- Modern Geometric: Design geometric Christmas trees and abstract snowflakes in monochromatic or metallic colors
- Whimsical Characters: Create cute reindeer, elves, or snowmen for a playful atmosphere
- Typography Focus: Design word art with holiday phrases or song lyrics in festive fonts
Common Mistakes to Avoid
- Using permanent adhesives: Always opt for specifically removable products
- Applying to textured surfaces: Stickers adhere best to smooth walls
- Rushing the removal process: Pull slowly at an angle to prevent wall damage
- Overcrowding: Leave breathing room between elements for visual impact
- Neglecting proper measurements: Plan your layout before applying anything to walls
Care & Maintenance
Dust your paper stickers gently with a soft microfiber cloth. Avoid using water or cleaning products directly on paper decorations. If stickers begin to curl at the edges, carefully reapply with fresh removable adhesive. Store flat between sheets of parchment paper after the season for potential reuse next year.
Conclusion
Creating DIY removable Christmas wall stickers is a rewarding way to personalize your rental space without sacrificing your security deposit. With minimal investment and some creativity, you can transform your home into a festive wonderland that reflects your personal style. We’d love to see your creations—share photos in the comments or tag us on social media!
FAQs
Can I use these DIY stickers on painted walls without damage?
Yes, when using truly removable adhesives like washi tape or removable glue dots, they should come off without damage. Always test in an inconspicuous area first.
How far in advance can I make these decorations?
You can prepare these 1-2 months in advance and store them flat until ready to display.
What if I’m not artistic enough to draw my own designs?
Use printable templates online or trace cookie cutters for perfect holiday shapes.
Can I reuse these DIY stickers next year?
Yes, if you remove them carefully and store them flat between parchment paper, many can be reused for 2-3 seasons.