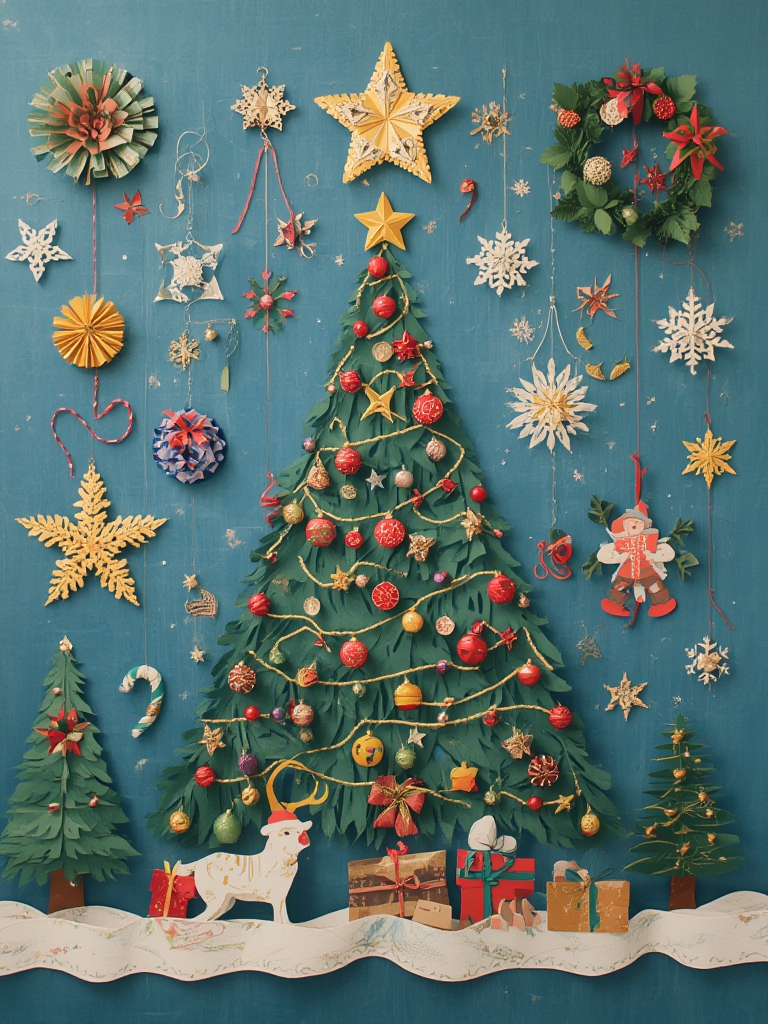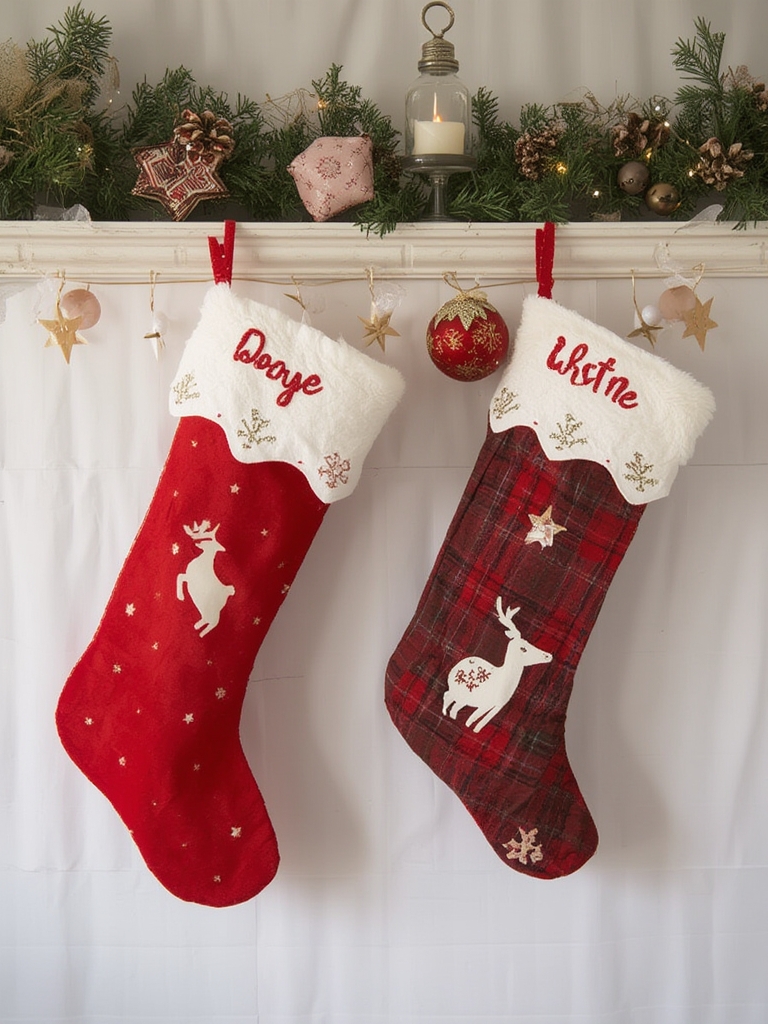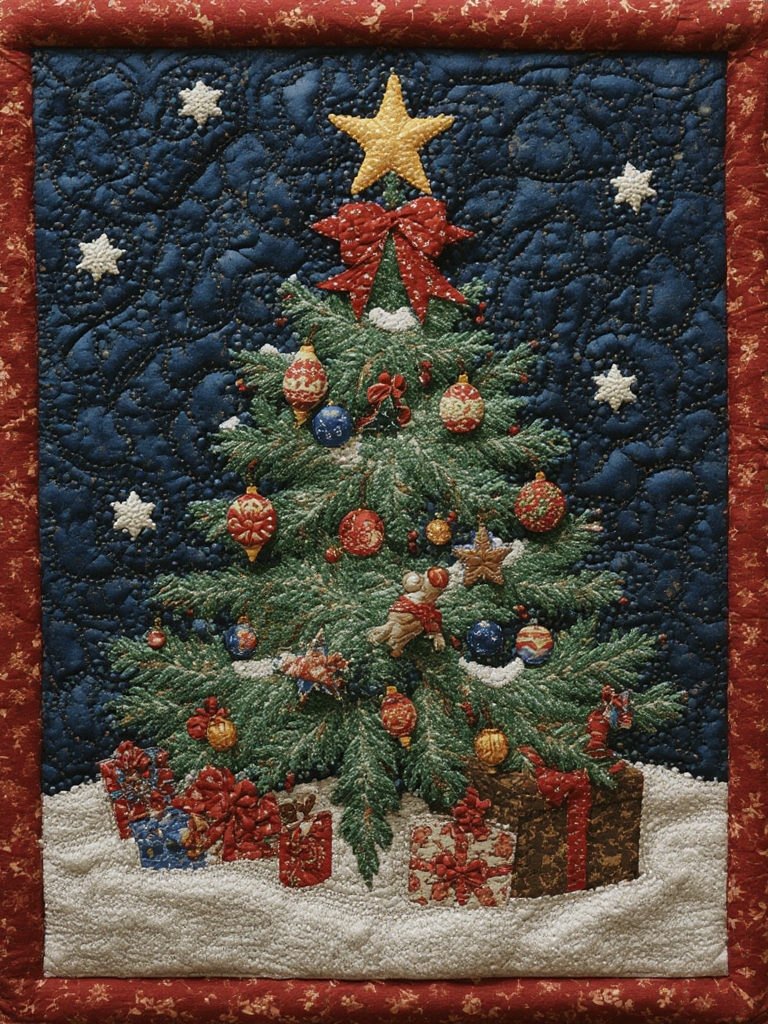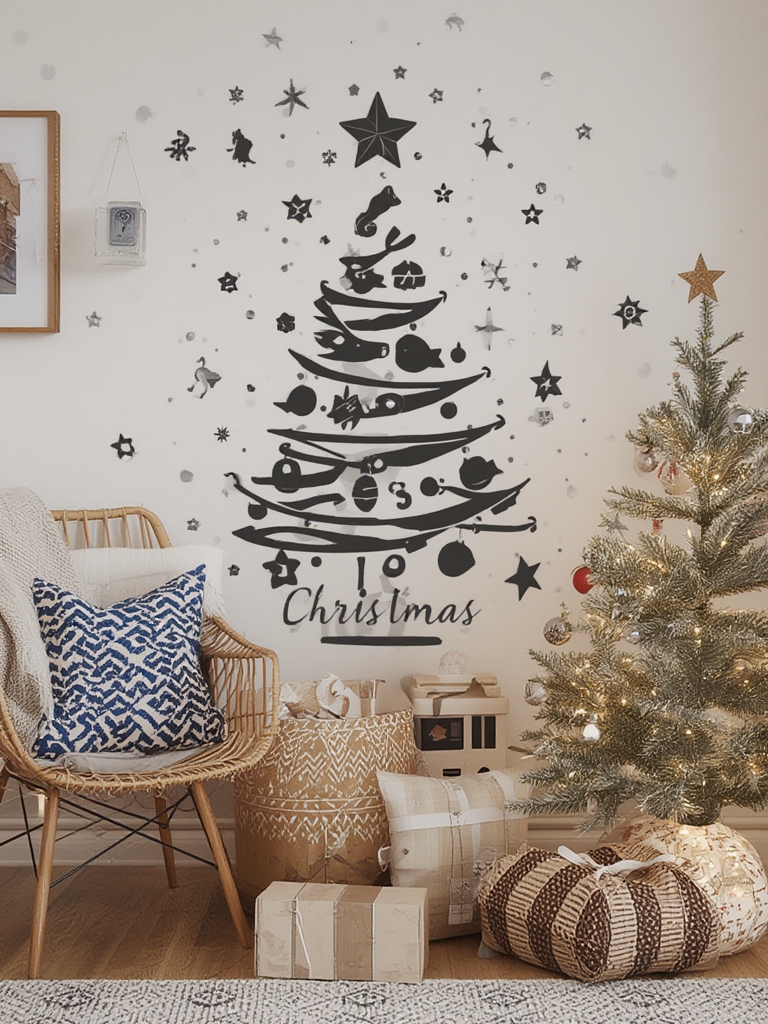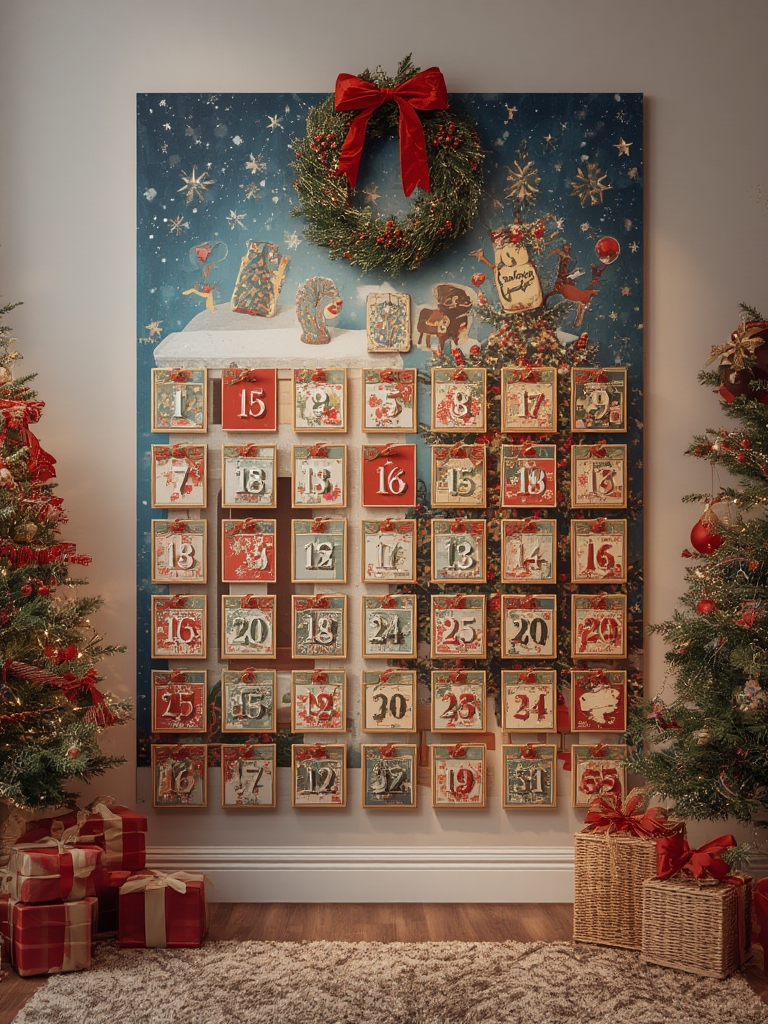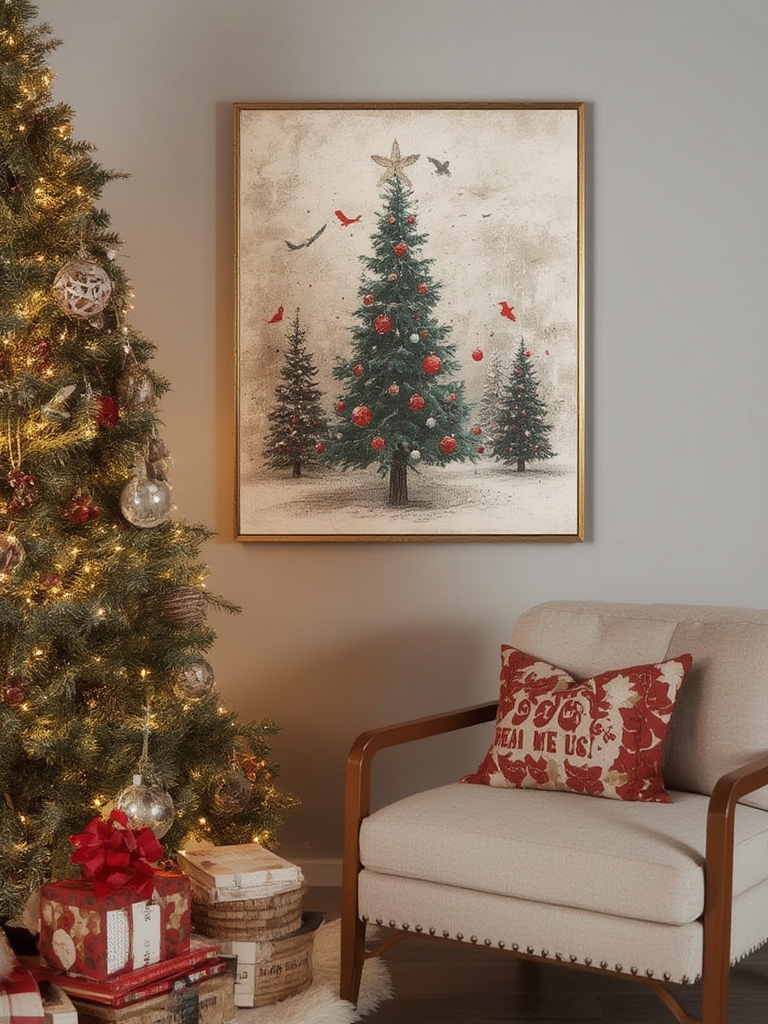
Looking to transform your home with festive cheer this holiday season without breaking the bank? holiday fabric wall art offers the perfect solution for creating stunning seasonal décor that showcases your creativity while warming up your living spaces. With just a few simple materials and basic crafting skills, you can craft beautiful textile displays that rival expensive store-bought decorations.
These handmade treasures not only personalize your home but also become cherished keepsakes you’ll enjoy displaying year after year.
Table of Contents
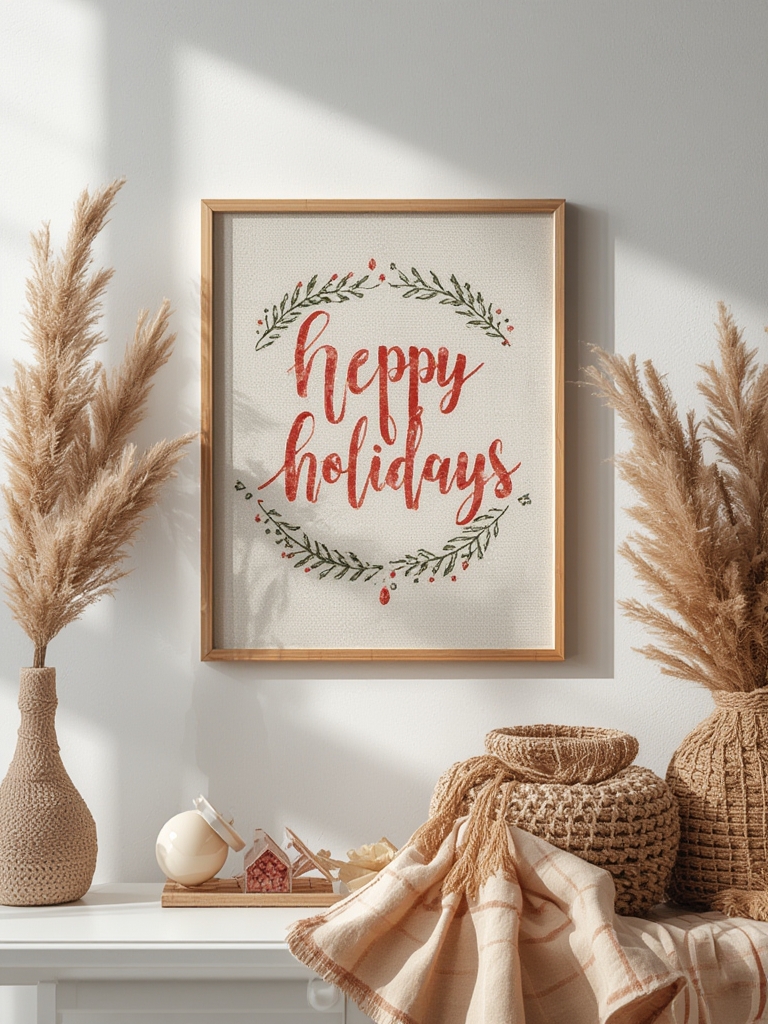
11 Gorgeous Holiday Fabric Wall Art Projects Anyone Can Make
Materials & Supplies Needed
- Festive fabrics (cotton, felt, burlap, or linen) in holiday colors and patterns
- Embroidery hoops in various sizes (6″, 8″, and 10″ work well)
- Embroidery floss in coordinating colors
- Quilting batting or lightweight interfacing
- Fabric scissors and pinking shears
- Fabric glue or hot glue gun with glue sticks
- Embellishments (buttons, ribbons, sequins, beads)
- Needle and thread
- Wooden dowels or decorative rods (for hanging quilted pieces)
- Christmas textile art, holiday fabric crafts, embroidered Christmas, Christmas quilting patterns (printable templates)
- Pencil or fabric marker
- Iron and ironing board
- Optional: Sewing machine for larger projects
Time Requirements
Most holiday fabric wall art projects require between 2-6 hours of crafting time, depending on complexity. Simple embroidery hoop designs can be completed in a single afternoon, while more elaborate quilted wall hangings might need several days of work spread across multiple sessions. Allow additional time for planning and gathering materials (about 1 hour) and for any adhesives or paint to dry completely (overnight drying is recommended for most projects).
Step-by-Step Instructions
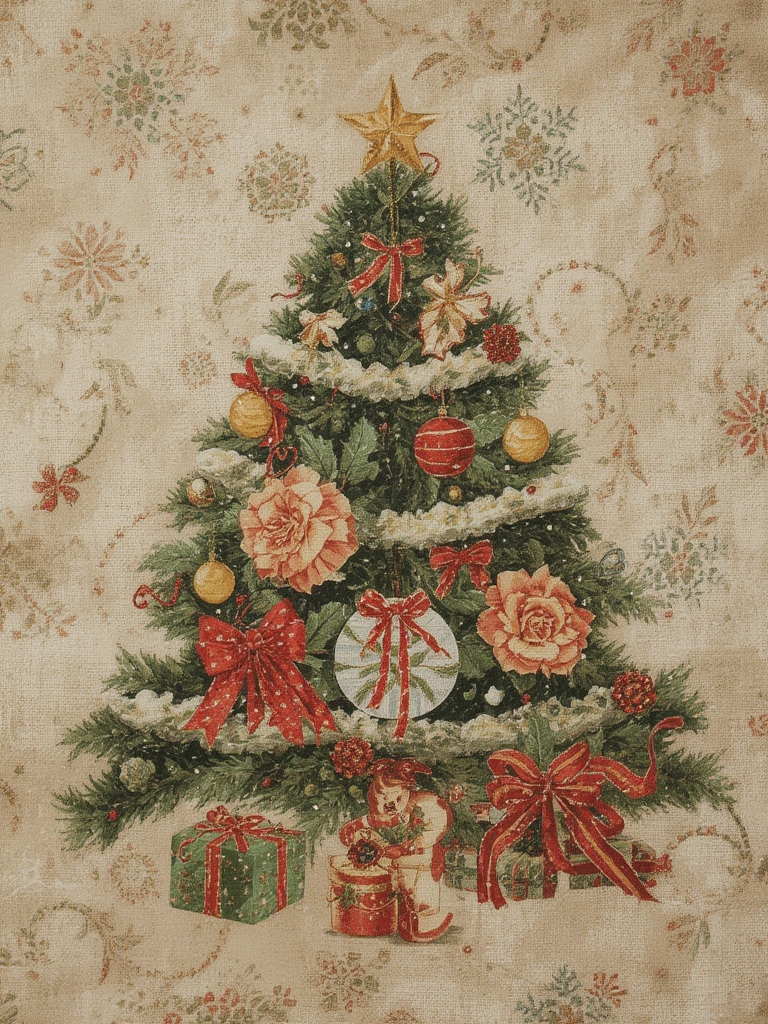
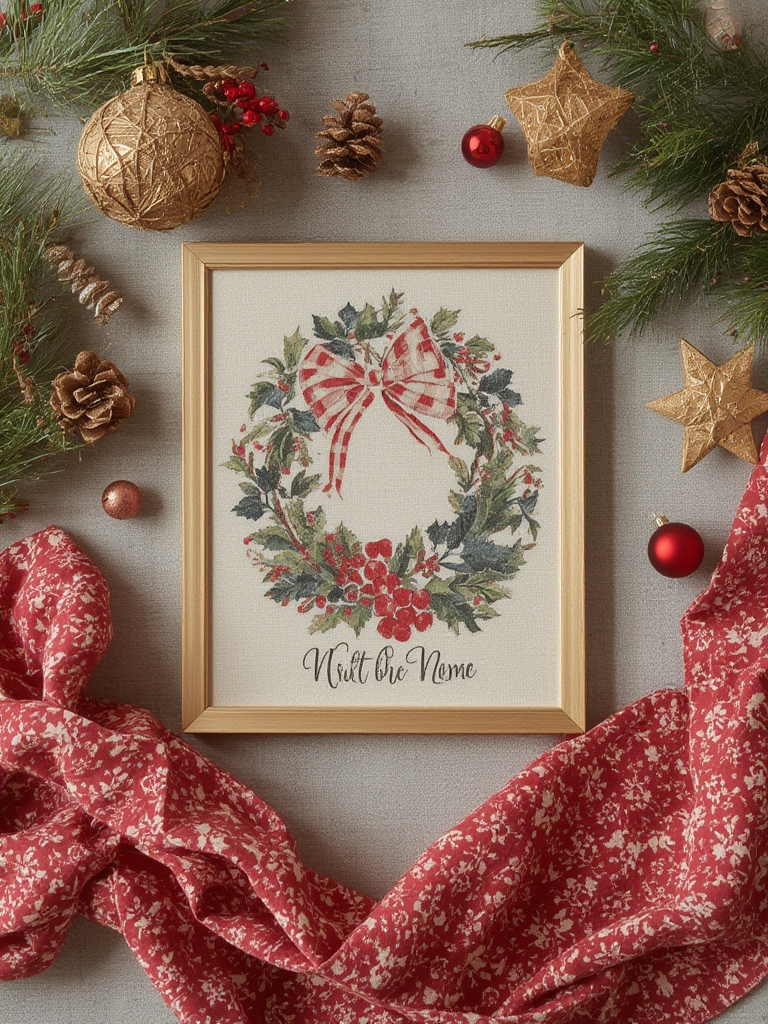
Select your project design – Choose from embroidery hoop art, quilted wall hangings, fabric appliqué, or textile collages based on your skill level and available time.
Prepare your fabric – Iron all fabric pieces to remove wrinkles. For quilted projects, pre-wash fabrics to prevent shrinkage later.
Cut fabric to size – For hoop art, cut fabric at least 2″ larger than your embroidery hoop on all sides. For quilted projects, cut precise pieces according to your pattern.
Transfer designs – Use a pencil or fabric marker to trace your pattern onto the fabric. For dark fabrics, use chalk or a disappearing ink marker.
Add embellishments – Sew on buttons, embroider details, or attach appliqué pieces according to your design. Work from the center outward for balanced compositions.
Assemble your project – For hoop art, place fabric in the hoop, pull tight, and trim excess. For quilted pieces, layer backing, batting, and top fabric, then stitch together.
Finish edges – Secure fabric backs with glue or by stitching. For quilted pieces, bind edges with bias tape or a fabric strip.
Add hanging hardware – Attach ribbon, string, or picture wire to the back for easy wall mounting.
Benefits of DIY Home Decor
Creating your own holiday fabric wall art delivers significant cost savings—typically 50-75% less than store-bought decor. These projects offer unlimited customization options, allowing you to match your existing décor or create one-of-a-kind pieces that reflect your personal style. Additionally, crafting with fabric is environmentally friendly, especially when upcycling old textiles or repurposing scraps from previous projects.
Styling Tips & Design Variations
- For modern homes, choose geometric patterns and monochromatic color schemes
- Rustic farmhouse styles pair beautifully with buffalo check fabrics and natural elements
- Create a cohesive gallery wall by using varying sizes of embroidery hoops with complementary fabrics
- Consider non-traditional holiday colors like blush pink, navy, or sage green for sophisticated spaces
- Layer different textures (velvet, burlap, cotton) for visual interest and dimension
Common Mistakes to Avoid
- Using fabrics that fray easily without proper edge finishing
- Stretching fabric unevenly in embroidery hoops, causing distortion
- Overcrowding designs with too many elements or competing patterns
- Inadequate attachment methods for hanging, resulting in fallen artwork
- Skipping the ironing step, leading to wrinkled and unprofessional results
Care & Maintenance
Dust your fabric wall art gently with a soft brush or vacuum with a brush attachment on low power. For deeper cleaning, spot clean with a mild soap solution using a soft cloth, taking care not to saturate the fabric. Store pieces flat or rolled (never folded) in acid-free tissue when not in use, and keep away from direct sunlight to prevent fading.
Conclusion
Holiday fabric wall art offers endless creative possibilities that transform your home while showcasing your personal style. These accessible projects require minimal investment but deliver maximum impact in your seasonal décor. Whether you’re a crafting novice or experienced textile artist, these DIY creations bring warmth and handmade charm to your holiday home. Try one (or several!) of these projects and enjoy the satisfaction of creating something beautiful with your own hands.
FAQs
What skill level is required for these fabric wall art projects?
Most projects can be adapted for beginners with basic sewing skills, while more complex quilted pieces may require intermediate experience.
Can I create these projects without a sewing machine?
Absolutely! Many designs, especially embroidery hoop art, can be completed entirely with hand-stitching or even fabric glue.
How can I make these projects child-friendly?
Choose pre-cut felt pieces, fabric glue instead of needles, and simple designs that children can help assemble with supervision.
What’s the best way to display multiple fabric art pieces together?
Create a cohesive gallery wall by varying sizes while maintaining a consistent color palette or theme across all pieces.