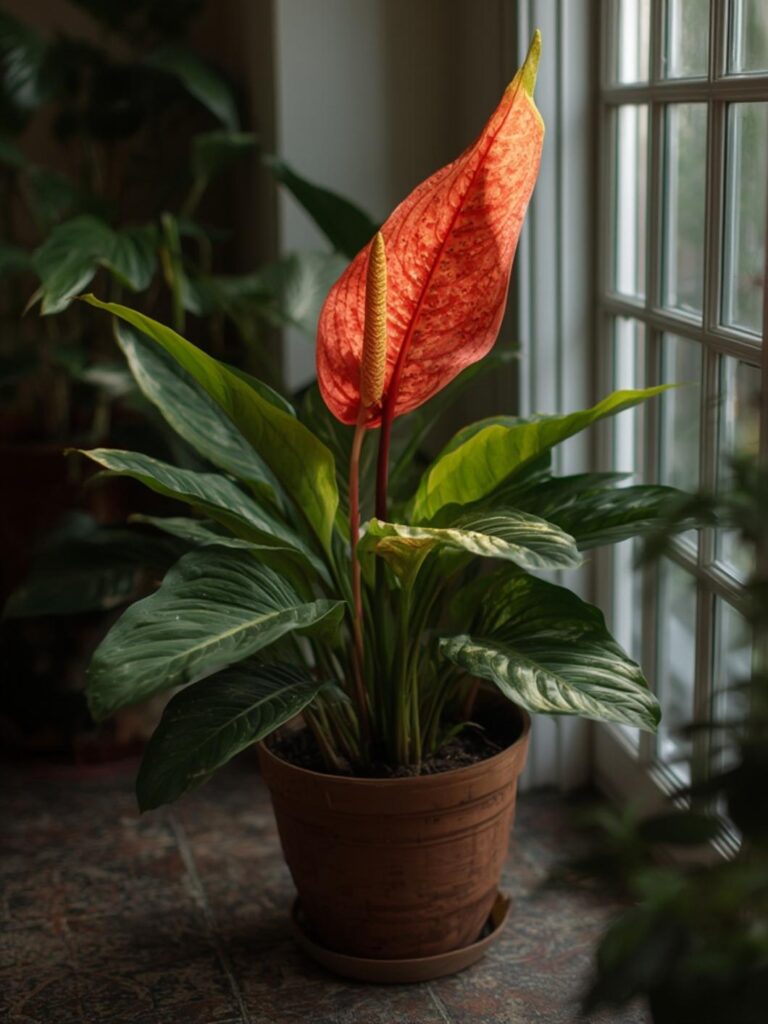
Have you ever looked at empty tin cans in your recycling bin and wondered if they could serve a greater purpose? With a little creativity and minimal effort, those discarded cans can transform into charming upcycled tin can planters.
This eco-friendly DIY project not only reduces waste but also adds unique character to your garden or home. According to a recent survey, 78% of home gardeners are now incorporating recycled containers into their planting schemes, making this trend both environmentally responsible and aesthetically pleasing.
Table of Contents
Creative Upcycled Tin Can Planters: Turn Trash into Garden Treasure
Materials & Supplies
- Clean, empty tin cans (soup cans, coffee cans, or larger food cans)
- Hammer and nail (for drainage holes)
- Sandpaper or metal file (to smooth sharp edges)
- Primer suitable for metal surfaces
- Exterior paint in colors of your choice
- Clear sealer or polyurethane (optional, for outdoor use)
- Decorative items (twine, burlap, lace, buttons, ribbons)
- Hot glue gun and glue sticks
- Potting soil
- Small plants or seeds (succulents, herbs, or flowers)
- Hanging materials (optional): wire, chain, or strong twine for hanging planters
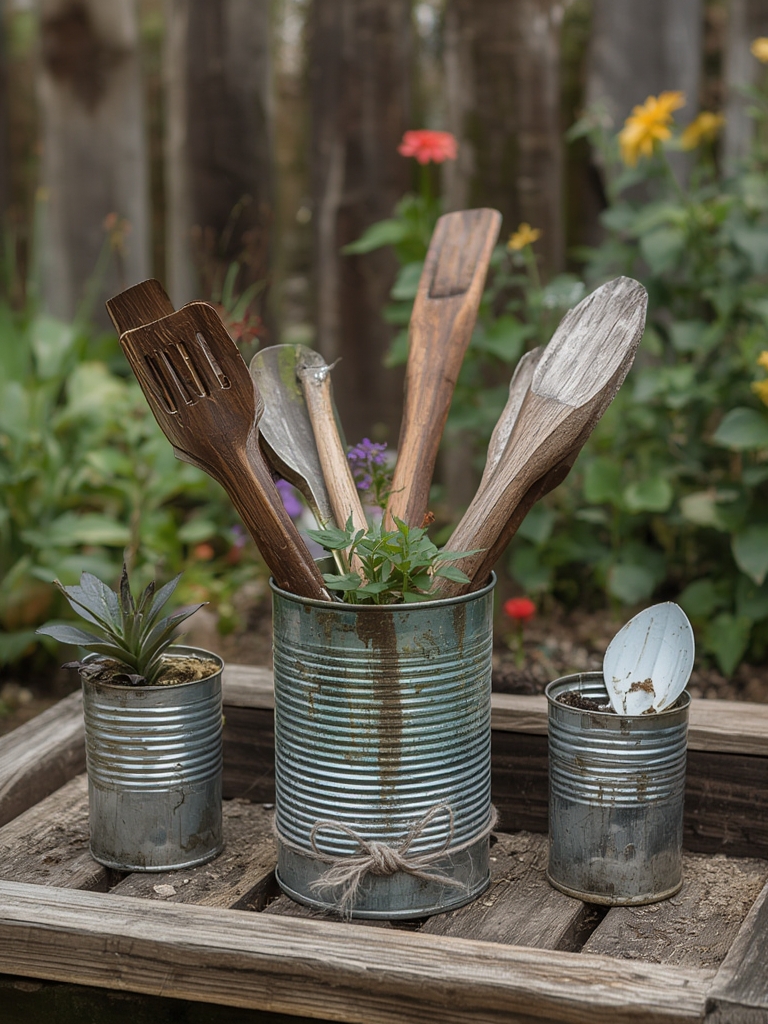
For larger projects, consider collecting tin can garden planters, recycled container garden, hanging can planters, vintage garden decor, upcycled metal planters inspiration from craft stores or online resources.
Timing / Growing Schedule
The preparation of tin can planters takes approximately 1-2 hours, plus drying time for paint (typically 24 hours). The beauty of these planters is their versatility throughout the seasons. Spring and summer are ideal for outdoor display, while winter allows for indoor herb gardens. Compared to traditional terra cotta pots which can crack in freezing temperatures, properly sealed tin can planters can withstand various weather conditions.
Step-by-Step Instructions
Prepare the cans: Remove labels and thoroughly wash cans with soap and water. Let dry completely. Create 3-4 drainage holes in the bottom using a hammer and nail. Work on a sturdy surface and hammer gently to avoid denting the can.
Smooth rough edges: Use sandpaper or a metal file to smooth any sharp edges around the rim. Safety tip: Wear gloves during this step to prevent cuts.
Apply primer: Cover the exterior with a metal-suitable primer. This prevents rust and helps paint adhere better. Allow to dry completely according to manufacturer’s instructions.
Paint your cans: Apply 2-3 coats of exterior paint, letting each coat dry thoroughly. For a vintage look, try distressing the paint by lightly sanding edges after it dries.
Seal for durability: If your planters will be outdoors, apply a clear sealer or polyurethane to protect the paint from weather damage.
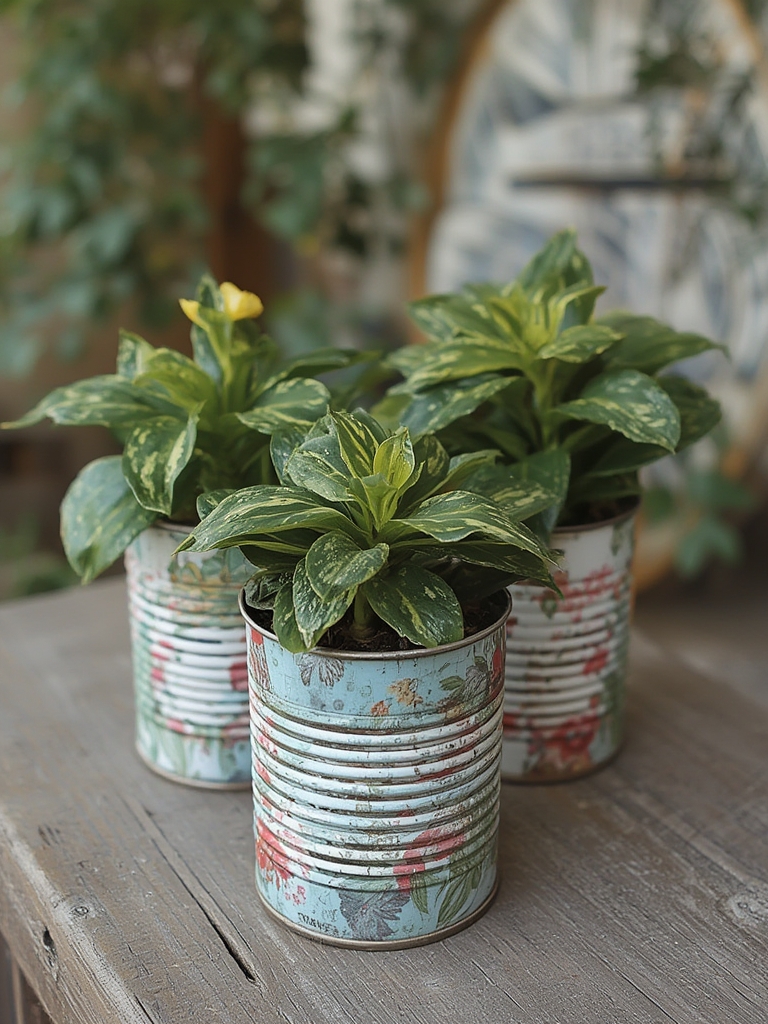
Add decorations: Personalize with twine, burlap, lace, or other embellishments using a hot glue gun. Creating themed sets (like herbs labeled with hand-painted names) adds functional charm.
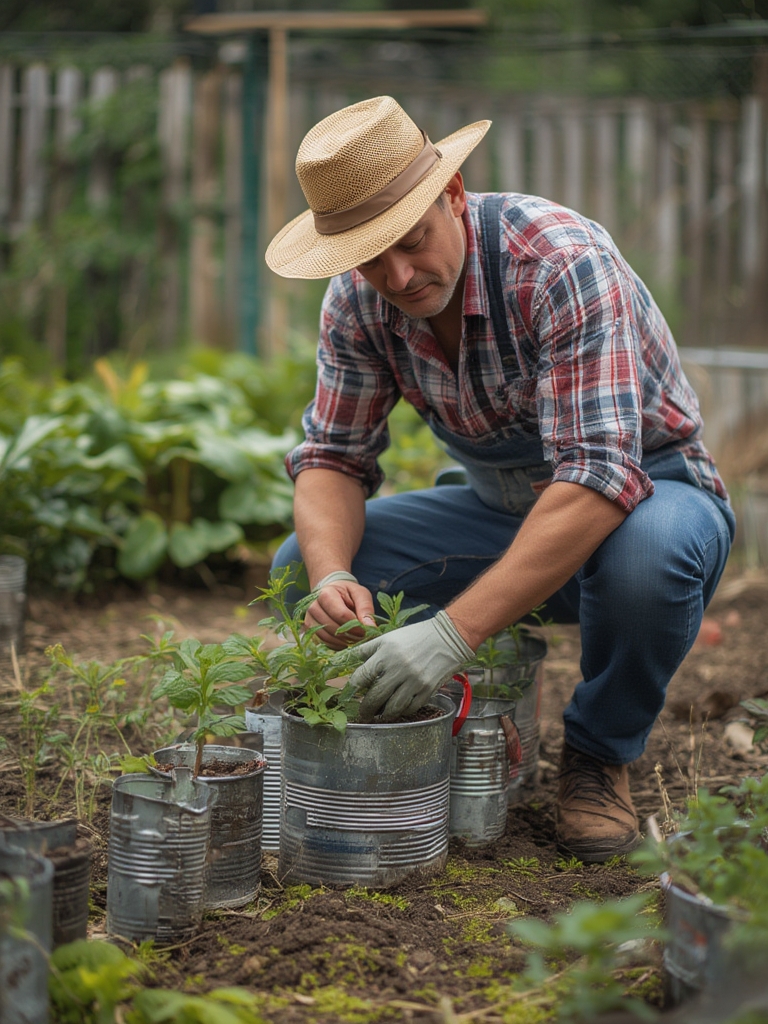
Prepare for planting: Add a layer of small rocks or broken pottery pieces at the bottom for improved drainage before adding potting soil.
Plant your selections: Add appropriate soil and plants, leaving about half an inch of space below the rim to prevent overflow when watering.
Advantages
These planters offer multiple benefits beyond their decorative appeal. They’re budget-friendly, using items you’d otherwise discard. The metal construction conducts heat, which can benefit warmth-loving herbs like basil and rosemary. Additionally, studies show that gardening with recycled materials reduces household waste by up to 15% annually.
Tips and Alternative Methods
- Create a tiered display using different-sized cans attached to a wooden ladder
- For indoor use, place finished planters on saucers to catch drainage
- Group cans of varying heights for visual interest
- For children’s projects, use plastic containers instead to avoid sharp edges
- In apartments, create a hanging herb garden along a sunny wall using mounted cans
Common Mistakes to Avoid
- Skipping drainage holes, which leads to root rot and plant failure
- Not sanding sharp edges, creating safety hazards
- Using interior-only paint that will quickly deteriorate outdoors
- Overcrowding plants in small containers
- Forgetting to remove adhesive residue from labels before painting
Storage / Maintenance Tips
Clean your tin can planters at the end of each growing season with mild soap and water. Touch up paint as needed and inspect for any rust development. For overwintering, either bring planters indoors or empty and store them in a dry place. Water plants in tin cans more frequently as metal conducts heat and can dry out soil faster than ceramic or plastic containers.
Conclusion
Creating your own upcycled tin can planters combines environmental responsibility with personal expression in your garden. This simple project transforms everyday waste into charming garden features while saving money and reducing landfill contributions. Why not gather those tin cans from your recycling bin this weekend and start your own creative planter project?
FAQs
How long will painted tin can planters last outdoors?
With proper primer, exterior paint, and sealer, they can last 2-3 years before needing touch-ups.
Can I grow vegetables in tin can planters?
Yes, small vegetables like lettuce, radishes, and herbs grow well in larger cans, though they may need more frequent watering.
Will tin cans rust even after painting?
Eventually, yes. However, proper priming, painting and sealing significantly delays rust formation.
How do I create hanging tin can planters?
Drill two holes on opposite sides near the top rim, thread wire or strong twine through, and secure for hanging.