Are you looking to transform your home into a festive winter wonderland without breaking the bank? The magic of holiday decorating lies in those personal touches that make your space uniquely yours.
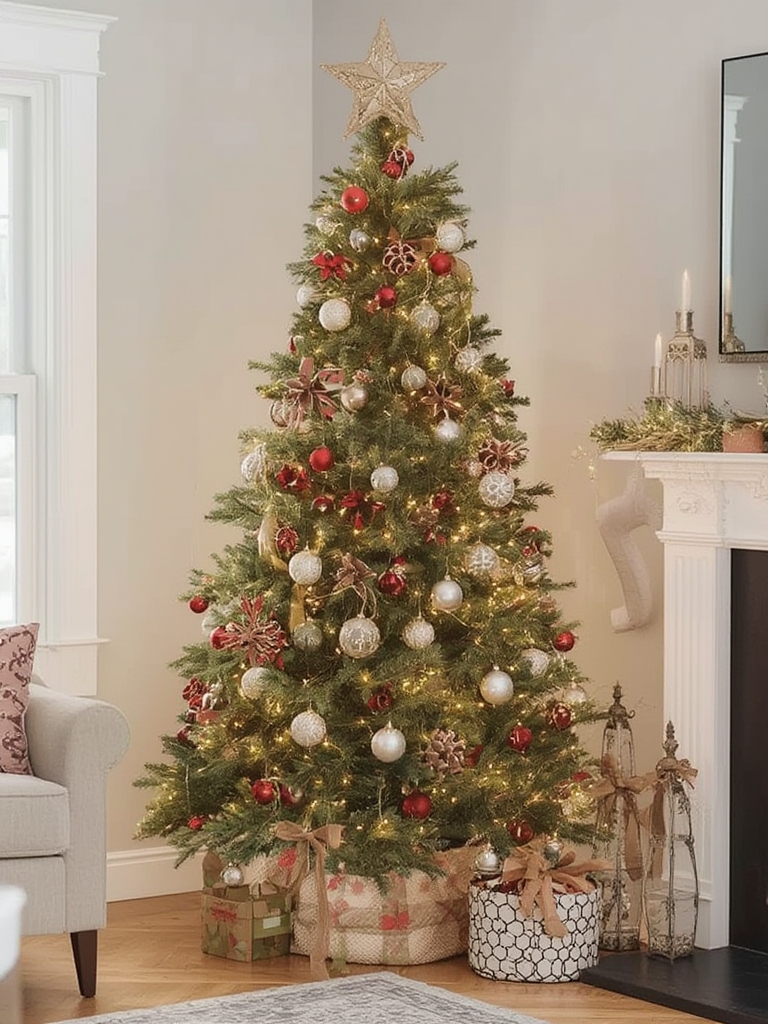
Creating your own Christmas garland DIY projects not only saves money but allows you to customize every detail to match your home’s aesthetic perfectly. From rustic farmhouse to modern minimalist, there’s a handmade garland style for everyone – and the best part? You’ll beam with pride every time you walk past your creation.
Table of Contents
Materials & Supplies Needed
For basic garland construction:
- Base material: Artificial eucalyptus garland, pine garland, fairy lights garland, metallic ribbon garland (or mix for fullness)
- Floral wire (22-24 gauge)
- Wire cutters
- Glue gun and glue sticks
- Scissors
- Twine or fishing line for hanging
- Optional embellishments: pinecones, berries, cinnamon sticks, dried orange slices, miniature ornaments, ribbon, bells, faux snow
Time Requirements
- Preparation: 30 minutes for gathering materials and planning your design
- Construction: 1-3 hours depending on length and complexity
- Drying time: Allow 1-2 hours if using hot glue
- Total project time: 2-5 hours (can be split over multiple days)
Weekend crafters should plan to start in the morning to ensure everything is dry and ready to hang by evening. For more elaborate designs, consider breaking the project into stages over a couple of days.
Step-by-Step Instructions
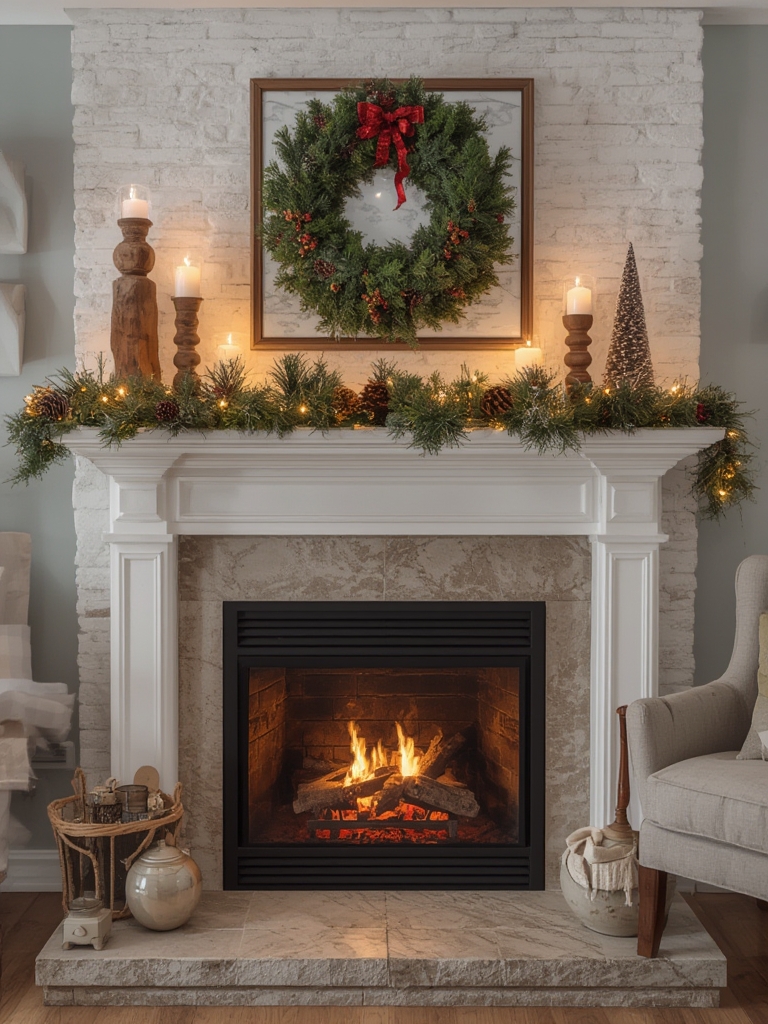
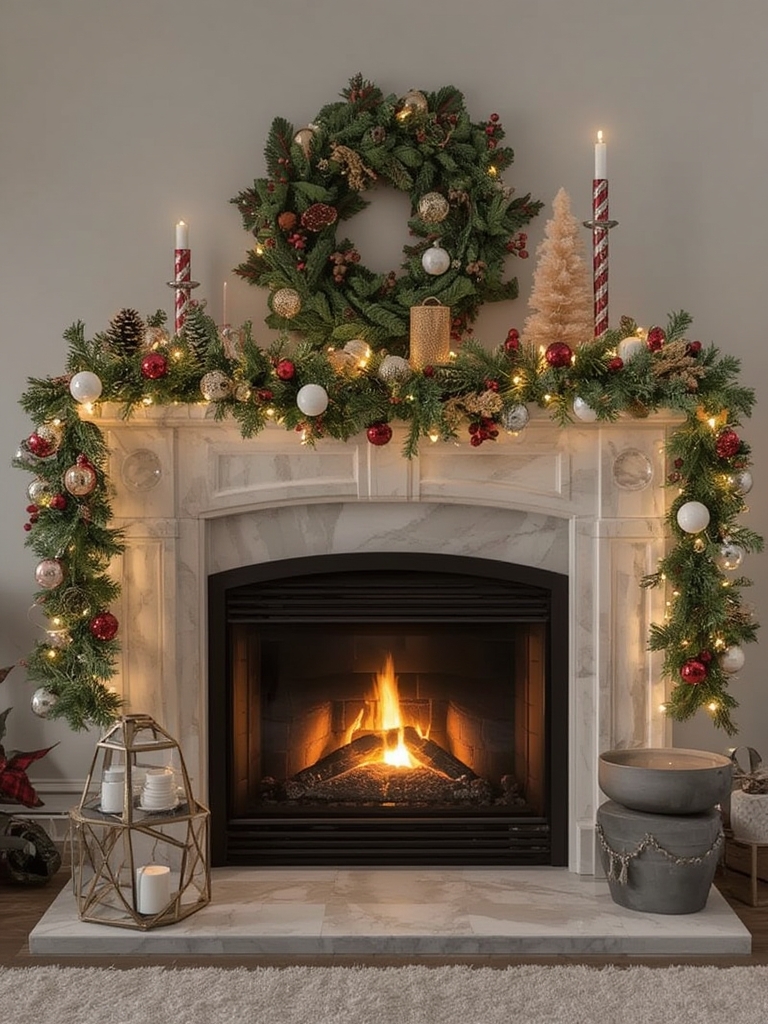
Measure your space – Determine the exact length needed for your mantel, staircase, or doorway, adding 1-2 feet for draping.
Prepare your base – If using artificial greenery, gently fluff branches to create fullness. For a fabric or ribbon base, lay out in full length.
Create the foundation – For mixed-material garlands, start with the largest elements (typically greenery) and secure pieces together with floral wire every 6-8 inches.
Add layers – Incorporate secondary greenery or materials, working in small sections and securing with wire or hot glue.
Attach decorative elements – Evenly distribute larger items (pinecones, ornaments) first, then fill gaps with smaller accents.
Add lighting – Weave string lights throughout, starting from one end and working to the other, concealing wires within foliage.
Final adjustments – Hang temporarily to check for gaps or uneven spots, making adjustments before final installation.
Benefits of DIY Home Decor
Creating your own Christmas garlands delivers incredible value beyond cost savings. Store-bought garlands often lack personality, while DIY versions can be perfectly matched to your existing decor. Handcrafted garlands also allow you to control the materials, avoiding plastic waste and potentially utilizing sustainable or recycled elements. There’s also the immeasurable joy of creating something beautiful with your own hands that becomes part of your family’s holiday traditions.
Styling Tips & Design Variations
- Monochromatic Luxury: Use all-white elements (white berries, frosted pinecones, silver ribbon) for elegant sophistication
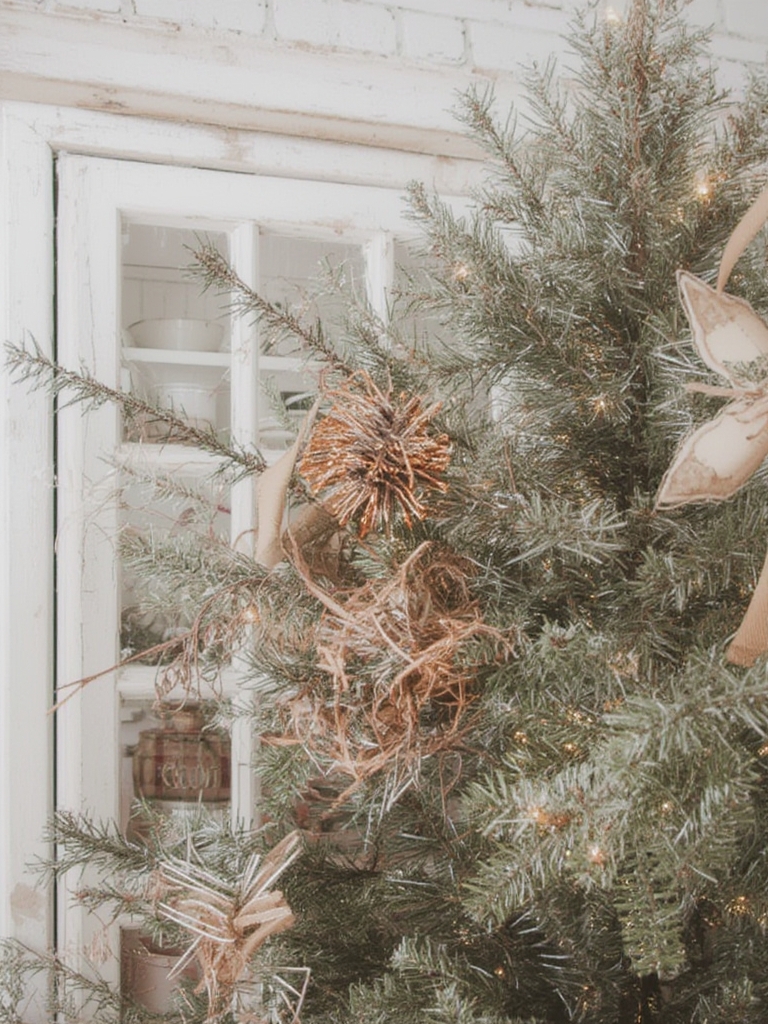
- Rustic Charm: Incorporate burlap ribbon, wooden beads, and dried natural elements
- Modern Metallic: Mix copper, gold and silver accents with minimal greenery for contemporary spaces
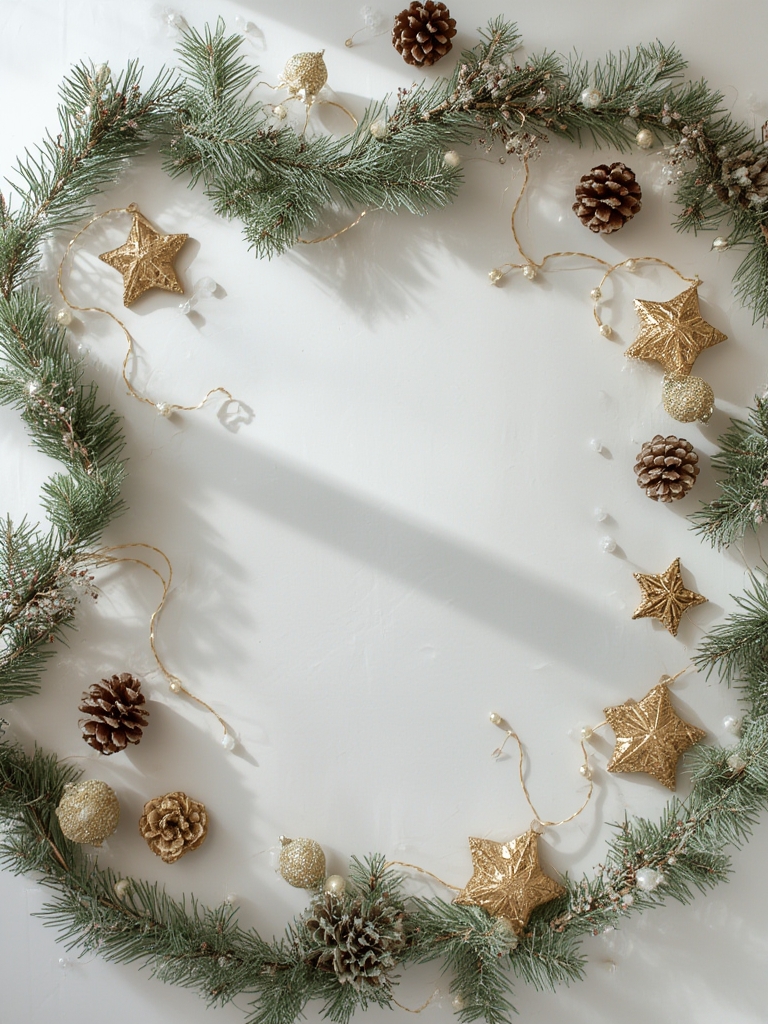
- Scandi-inspired: Focus on wooden elements, white, red, and natural materials for minimalist Nordic appeal
Common Mistakes to Avoid
- Overloading your garland – Start minimal and add gradually; overcrowded garlands look messy and can become too heavy
- Poor planning – Sketch your design before beginning to ensure balanced distribution of elements
- Weak attachments – Use floral wire rather than just glue for heavier items to prevent falling decorations
- Forgetting about maintenance – Create your garland to be adjustable so you can refresh elements throughout the season
Care & Maintenance
Store your DIY garland properly by wrapping it around a clothes hanger or storing flat in a plastic container. For natural elements, spray with a light preservative to maintain freshness. Dust regularly with a hair dryer on cool setting, and refresh ribbons midway through the season if they become crushed.
Conclusion
With these 15 inspiring Christmas garland ideas, you’re ready to create stunning holiday decor that perfectly complements your home. Remember, the beauty of DIY is in the process as much as the result – embrace any “happy accidents” that make your creation unique! We’d love to see your finished garlands – tag us on social media with #DIYDecorDreams.
FAQs
How long will a fresh evergreen garland last indoors?
Fresh garlands typically last 2-3 weeks indoors. Mist daily with water to extend their life and keep away from heat sources.
Can I create a garland that’s safe for homes with pets?
Absolutely! Avoid toxic berries (like holly), small objects that could be swallowed, and opt for pet-safe adhesives. Consider hanging garlands out of reach.
What’s the best way to hang a garland without damaging walls?
Use removable adhesive hooks, wreath hangers that fit over doors, or clear fishing line tied to existing fixtures. Command hooks work well for lighter garlands.
How can I store my DIY garland for next year?
Wrap artificial garlands around a piece of cardboard or pool noodle, place in a plastic storage bin with tissue between layers, and store in a cool, dry place to prevent crushing.