Are you tired of store-bought advent calendars that lack personality and charm? Imagine transforming your wall into a festive countdown display that captivates everyone who enters your home this holiday season. Creating a Christmas advent calendar wall not only saves money but also becomes a cherished family tradition that can be personalized year after year.
These interactive wall displays combine the magic of anticipation with stunning decor that elevates your Christmas atmosphere in ways commercial options simply cannot match.
Table of Contents
Materials & Supplies Needed
- 24 small containers (mini bags, envelopes, boxes, or pouches)
- Number stickers or tags (1-24)
- String, twine, or ribbon (10-15 feet)
- Command hooks or removable adhesive strips (6-8)
- Small treats or activity cards for filling
- Decorative elements (pinecones, greenery, fairy lights)
- Scissors
- Hot glue gun and glue sticks
- Ruler or measuring tape
- Optional: wooden frame, fabric backing, or canvas
- Optional: miniature clothespins (24)
- Optional: spray paint in festive colors
Time Requirements
- Preparation time: 1-2 hours for gathering materials and planning your layout
- Assembly time: 2-3 hours for basic designs, 4-6 hours for more elaborate displays
- Drying/setting time: Allow 24 hours if using adhesives or paint that requires curing
- Filling time: 30-45 minutes for adding treats and surprises to each compartment
Step-by-Step Instructions
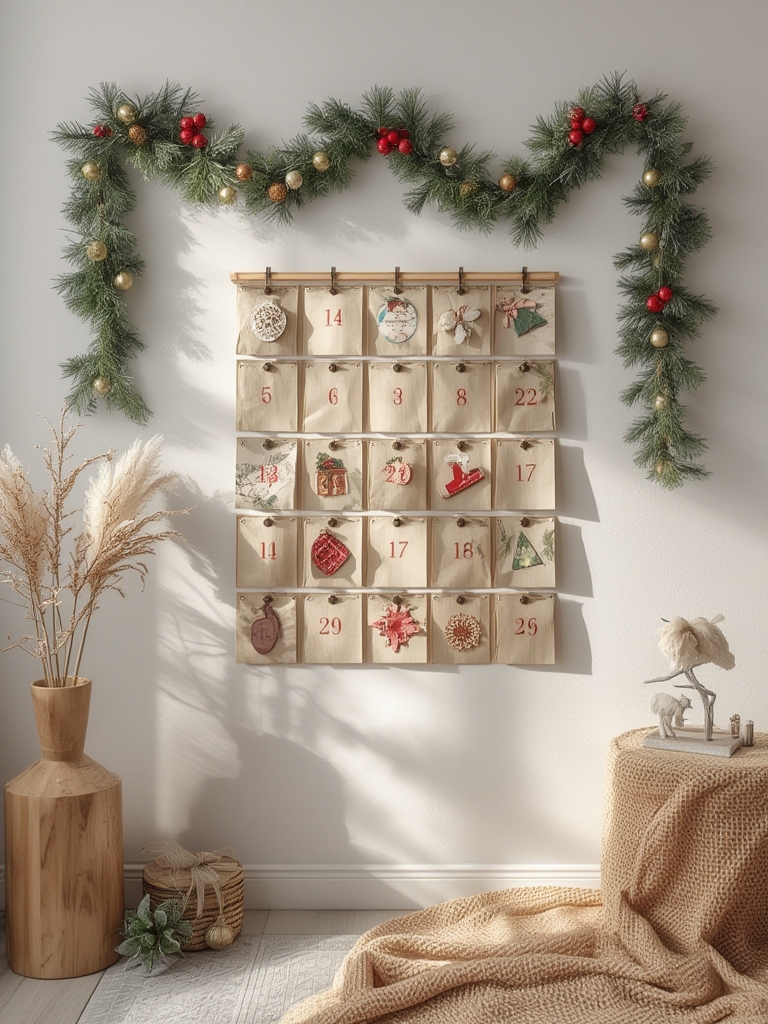
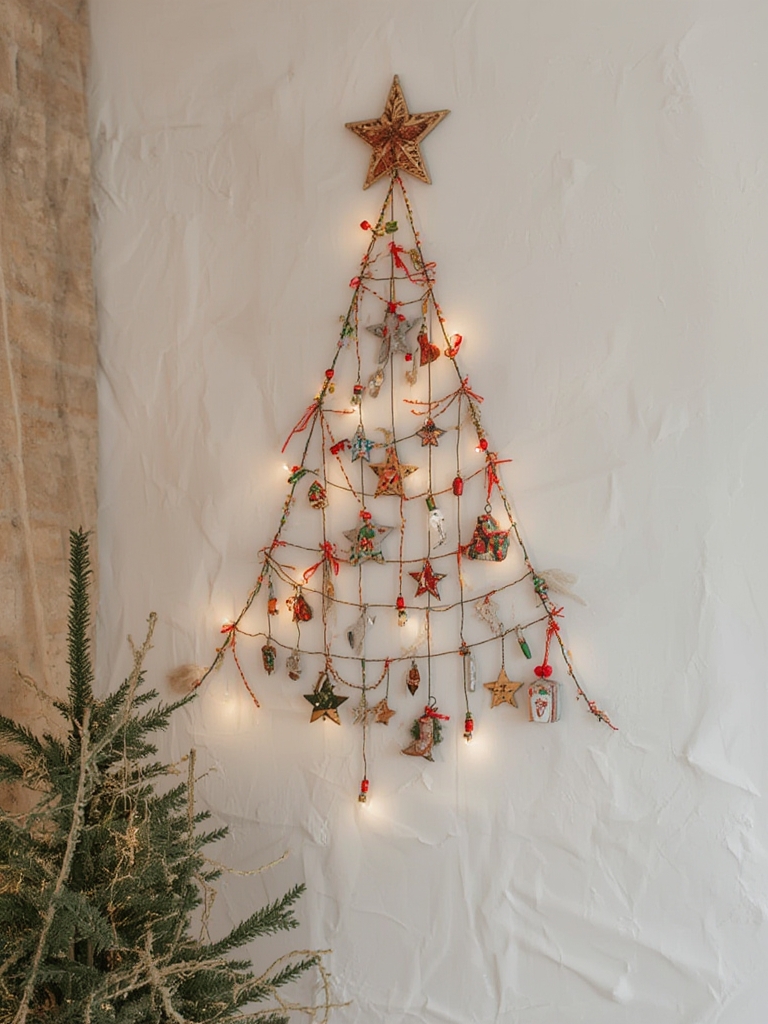
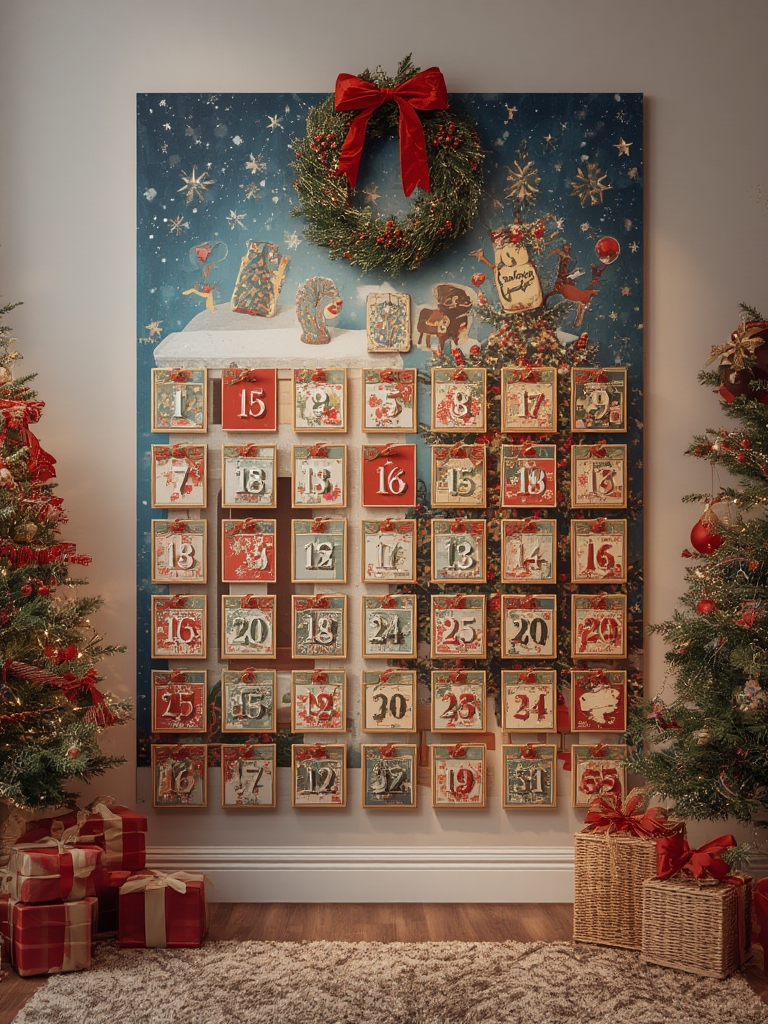
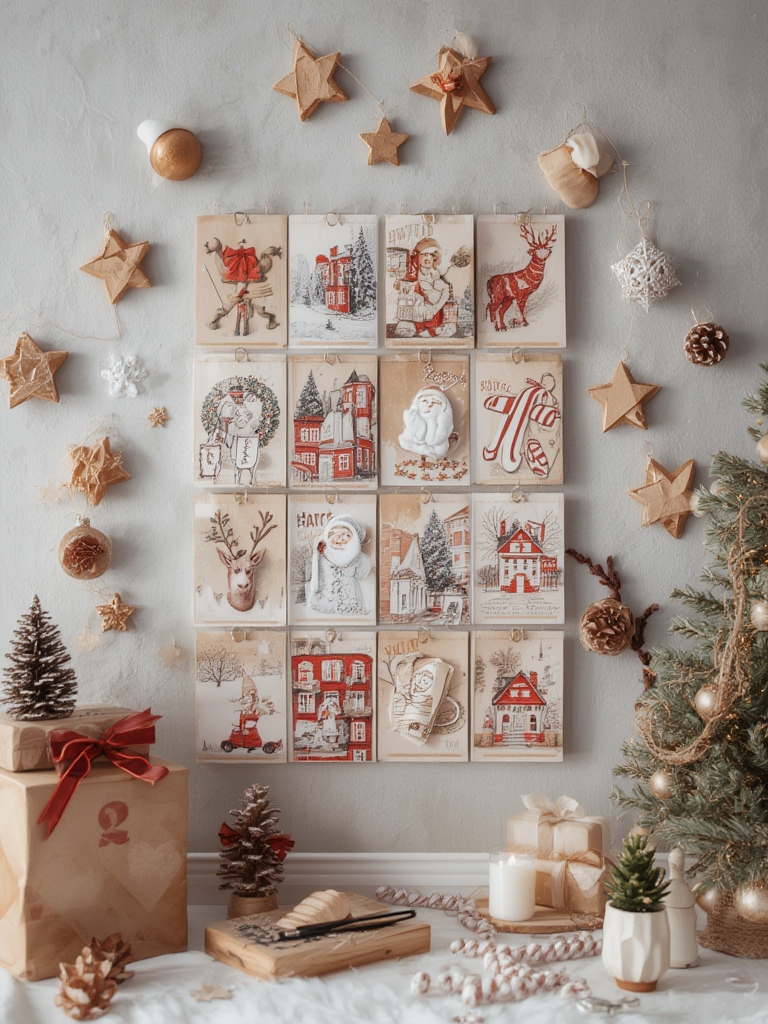
Choose your wall space and measure it carefully to plan your display size and shape (tree, star, rectangle, or random arrangement).
- Pro tip: Use painter’s tape to mark boundaries before installing anything permanently.
Prepare your containers by decorating, painting, or wrapping them according to your chosen theme.
- For consistent results, create a sample first and replicate it 24 times with small variations.
Number each container from 1-24 using stickers, tags, or hand-lettering.
- Consider using a stencil for uniformity or intentionally vary styles for a whimsical look.
Install your base structure using Command hooks or a pre-mounted frame at your designated wall space.
- Position hooks at varying heights for a dynamic visual effect if creating a tree shape.
String twine between hooks to create lines for hanging your advent containers.
- Double-knot connections and test weight capacity before adding containers.
Attach containers to your display structure using clips, clothespins, or by hanging them directly.
- Alternate container styles or colors for visual interest and dimension.
Add decorative elements around and between containers to create a cohesive theme.
- Layer elements at different depths to create a 3D effect that draws the eye.
Fill each container with treats, small gifts, or activity prompts before sealing them.
- Consider using QR codes that link to digital surprises for a modern twist.
Benefits of DIY Home Decor
Creating your own advent calendar ideas, DIY countdown calendar, Christmas calendar craft, numbered envelopes provides significant savings compared to high-end store versions. The personalization possibilities are endless, allowing you to match your exact color scheme and style preferences. These displays create meaningful family activities during the busy holiday season, fostering traditions that children remember for years. Additionally, reusable designs reduce holiday waste and environmental impact.
Styling Tips & Design Variations
- Minimalist: Use identical white envelopes on a black wall with simple number typography
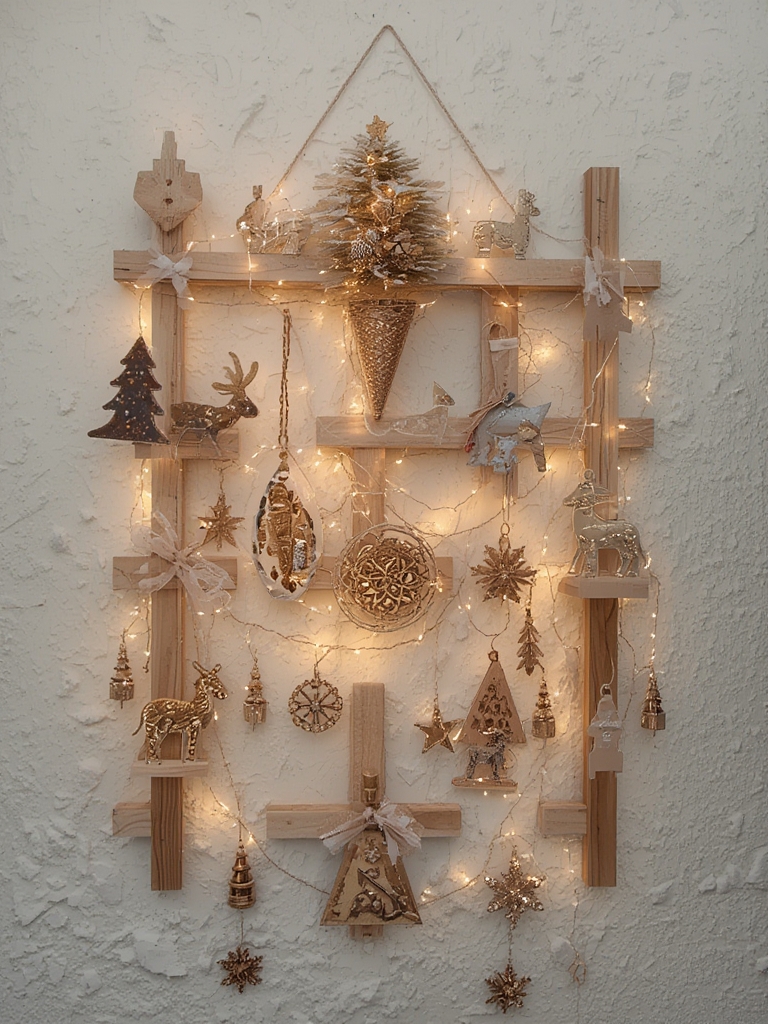
- Rustic: Create a branch-based display with kraft paper pouches and natural twine
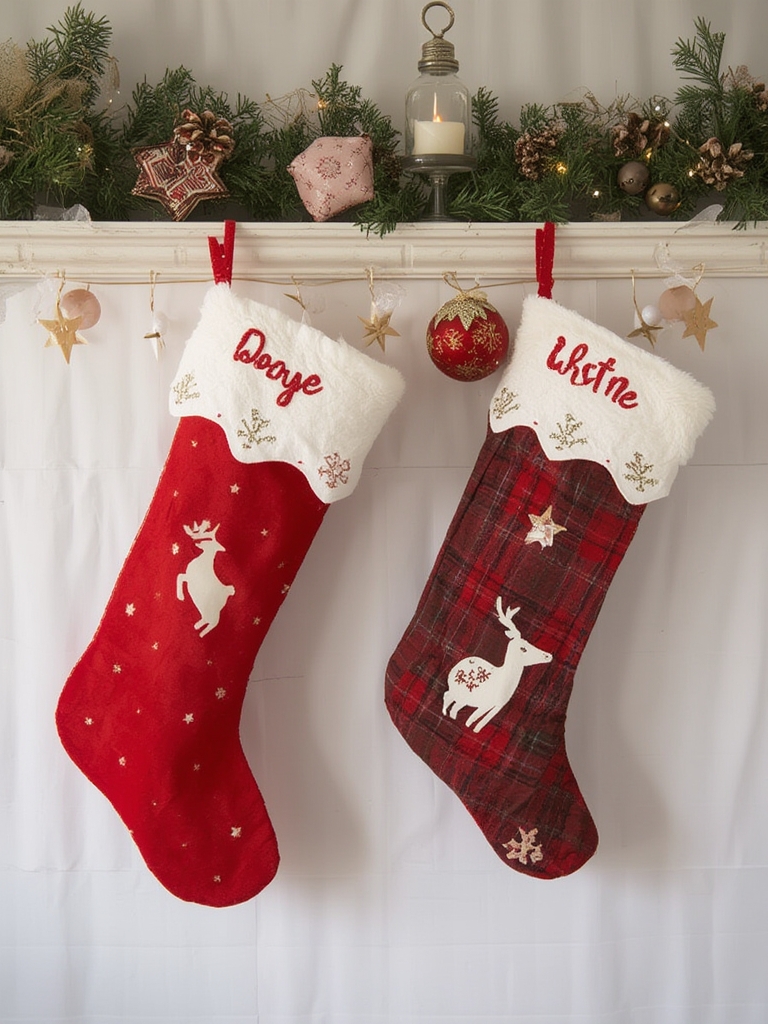
- Scandinavian: Incorporate red and white color scheme with wooden elements
- Colorful: Design a rainbow gradient effect with bright multi-colored containers
- Space-saving: Create a vertical narrow display for small apartments or hallways
Common Mistakes to Avoid
- Overcrowding the display, making it difficult to access individual containers
- Using adhesives that damage wall paint (always test in an inconspicuous area first)
- Making containers too heavy for your hanging method
- Forgetting to plan enough space between items for easy removal
- Waiting until the last minute to fill containers (plan contents well in advance)
Care & Maintenance
Store your advent calendar components flat in a large, shallow box between seasons. Keep adhesive strips and hooks separate to preserve stickiness. Refresh painted elements with a light coat every 2-3 years. Consider laminating paper components for longevity. Remove any food items promptly after the season to prevent pest issues.
Conclusion
A DIY Christmas advent calendar wall transforms holiday countdown into a beautiful, interactive decoration that builds anticipation daily. The project combines creativity, personalization, and functionality while becoming a cherished tradition your family will look forward to each year. Begin planning your display now to ensure plenty of time for a stress-free creation process before December arrives.
FAQs
What if I don’t have wall space for a large display?
Consider door-mounted versions, using the back of bookshelves, or creating a tabletop version with a foam core backing board.
Can children help with making this project?
Absolutely! Assign age-appropriate tasks like decorating containers, filling treats, or helping arrange the layout.
How can I make this advent calendar more sustainable?
Use recyclable materials, fabric pouches that can be reused yearly, and focus on experience-based activities rather than daily treats.
What are some unique ideas for filling the calendar beyond candy?
Consider puzzle pieces that form a complete picture by Christmas, daily kindness activities, scavenger hunt clues, or small ornaments that gradually complete a mini tree.