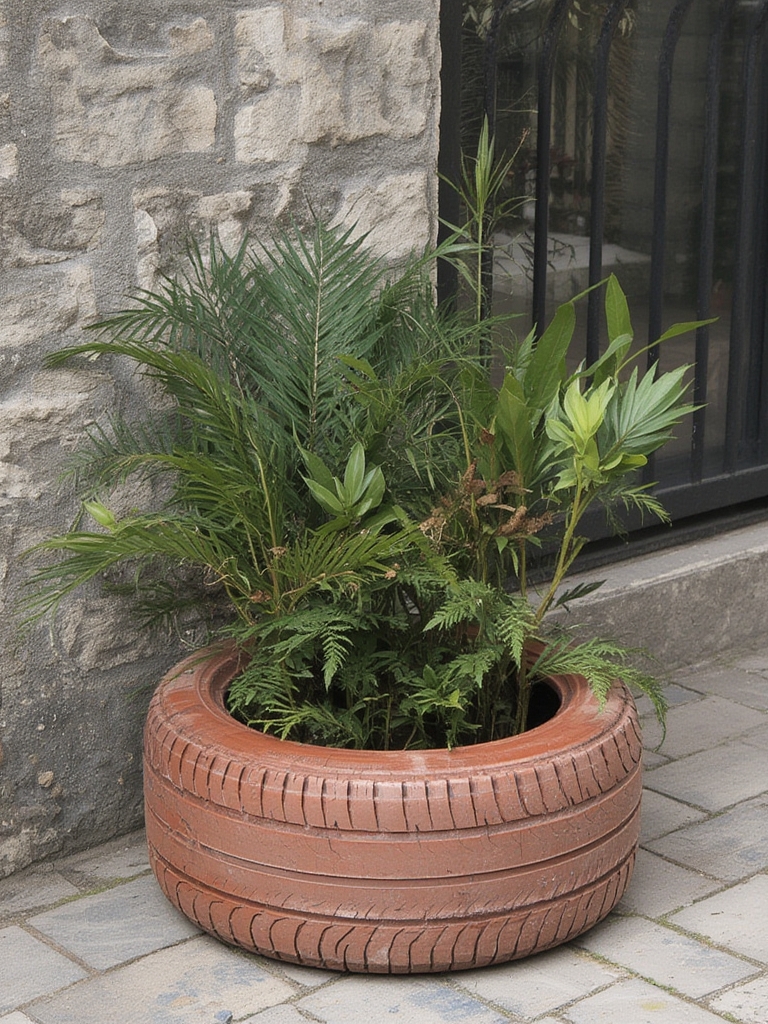
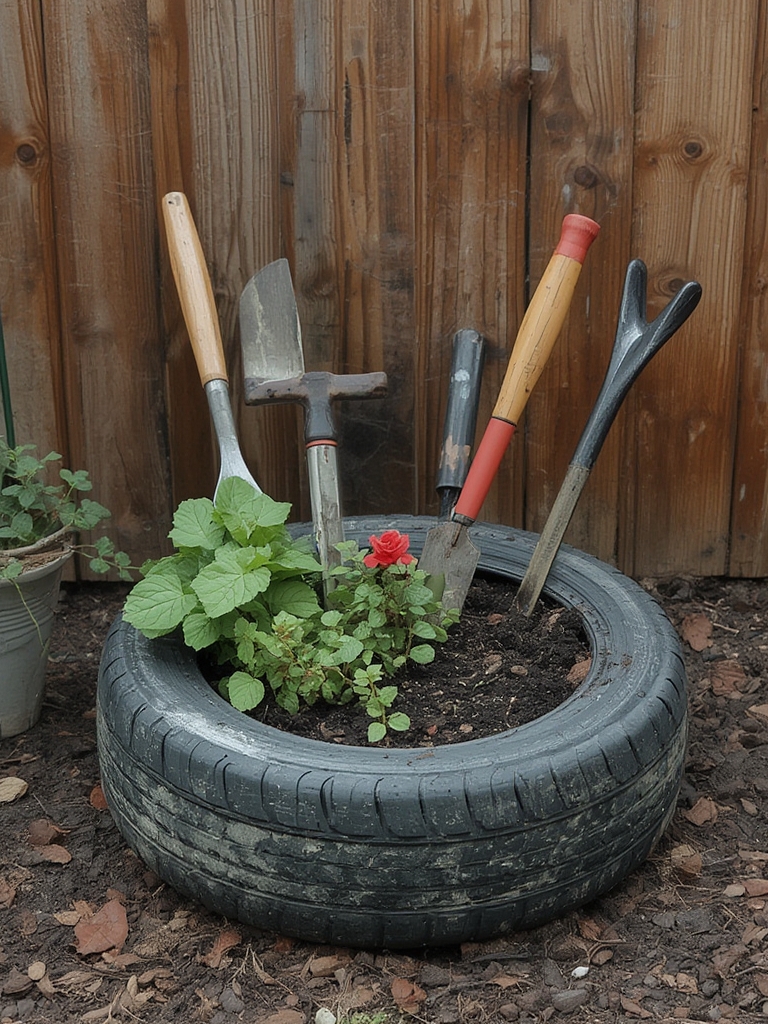
Ever wondered what to do with those old tires taking up space in your garage? Instead of sending them to a landfill, why not transform them into charming garden decor? upcycled tire planters offer an eco-friendly, budget-conscious solution for adding color and personality to your outdoor spaces.
This creative recycling project not only helps reduce waste but also gives you unique containers for growing flowers, herbs, or even vegetables. The best part? You can customize these planters to match any garden style, from rustic country charm to bold modern designs.
Table of Contents
Budget-Friendly Upcycled Tire Planters: Transform Old Tires into Colorful Garden Art
Materials & Supplies
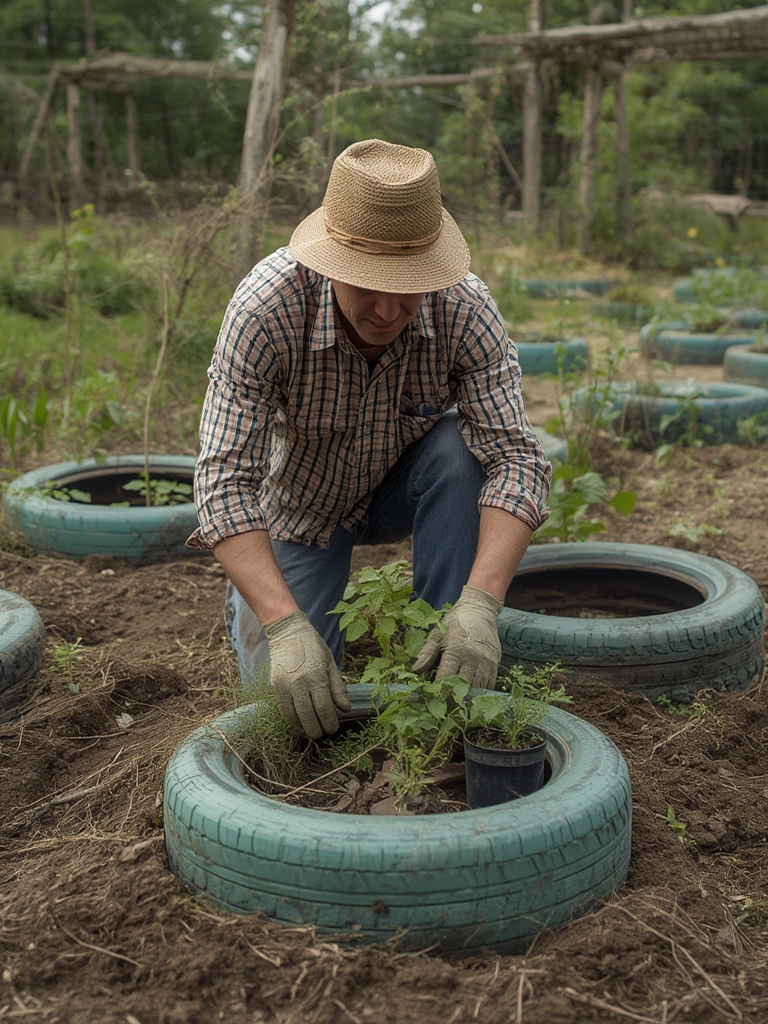
To create your own recycled tire garden, painted tire planters, tire flower pots, upcycling ideas, budget garden decor, you’ll need:
- Used tires (car, truck, or tractor tires in good condition)
- Heavy-duty utility knife or reciprocating saw
- Drill with bits for drainage holes
- Sandpaper (medium grit)
- Clean rags
- White primer for exterior use
- Exterior latex paint in colors of your choice
- Clear sealer/waterproofing spray
- Paintbrushes and small rollers
- Decorative elements (optional): stencils, glitter, mosaic tiles
- Potting soil
- Plants of choice
- Landscape fabric (optional)
- Heavy-duty gloves and safety glasses
Timing / Growing Schedule
This DIY project requires approximately 3-4 hours of active work, plus drying time between painting steps (24-48 hours total). The best time to create tire planters is during dry, mild weather when you can work outdoors. Spring and early summer are ideal, allowing you to immediately plant your new containers for a full season of enjoyment. Plan for this project 1-2 weekends before you intend to plant.
Step-by-Step Instructions
Clean and Prepare the Tire: Thoroughly scrub your tire with soap and water, removing all dirt, grime, and road residue. Let it dry completely (24 hours). For a cleaner look, use a utility knife to remove any unwanted rubber portions like sidewall lettering.
Create Drainage: Drill 4-6 evenly spaced holes (½ inch diameter) in what will become the bottom of your planter. This prevents water from pooling and damaging your plants’ roots.
Sand the Surface: Lightly sand the entire tire, focusing on glossy areas. This helps the primer and paint adhere properly. Wipe away dust with a damp cloth.
Apply Primer: Using a roller or brush, apply a coat of exterior primer formulated for rubber surfaces. This crucial step ensures your paint will stick and last longer. Allow to dry completely (8-12 hours).
Paint Creatively: Apply 2-3 coats of exterior latex paint in your chosen colors, allowing proper drying time between coats. Get creative with patterns, stripes, or stenciled designs. Consider using bright colors that complement your garden’s palette.
Seal Your Work: Once paint is completely dry, apply 2-3 light coats of clear weatherproof sealer to protect your design from the elements. Let each coat dry according to product instructions.
Add Drainage Material: Place a layer of landscape fabric at the bottom to prevent soil from washing out through drainage holes. Add a 1-2 inch layer of gravel or broken pottery pieces.
Fill and Plant: Add quality potting soil and your chosen plants, arranging them to create the desired effect.
Advantages
Creating upcycled tire planters offers numerous benefits: they’re virtually free, incredibly durable, and provide excellent insulation for plant roots. The rubber retains heat, making these planters perfect for plants that thrive in warmer soil. Additionally, you’re keeping tires out of landfills where they take centuries to decompose.
Tips and Alternative Methods
- Stacking Method: Create tiered planters by stacking progressively smaller tires.
- Hanging Tire Planters: Suspend painted tires horizontally using sturdy rope for a dramatic effect.
- Tire Pond: Line a large tractor tire with pond liner to create a small water feature.
- Indoor Options: Smaller, more elaborately painted tire planters can work as indoor containers for houseplants in sunrooms or covered porches.
Common Mistakes to Avoid
- Skipping Primer: This leads to peeling and flaking paint within weeks.
- Inadequate Drainage: Without proper drainage, plants will suffer from root rot.
- Using Interior Paint: This will quickly fade and peel outdoors. Always use exterior-grade products.
- Poor Placement: Consider weight when placing filled tire planters, as they become quite heavy and difficult to move.
Maintenance Tips
- Refresh paint every 2-3 years or when showing signs of wear.
- Clean planters annually with mild soap and water to prevent mold.
- Check drainage holes each spring to ensure they remain clear.
- If using as perennial planters, add a layer of mulch for winter protection.
Conclusion
Transforming old tires into vibrant garden planters combines creativity, sustainability, and gardening in one satisfying project. These durable containers provide years of use while adding unique character to your outdoor space. Whether you’re an experienced gardener or just starting out, upcycled tire planters offer an accessible way to expand your garden on a minimal budget.
FAQs
Are tire planters safe for growing edibles?
Yes, when properly sealed, tire planters are safe for growing vegetables and herbs. The sealant creates a barrier between the rubber and soil.
How long do painted tire planters last?
With proper preparation and sealing, they can last 5-10 years before needing a refresh.
Can I leave tire planters outside during winter?
Yes, rubber tire planters withstand freezing temperatures better than ceramic or terracotta pots. Just ensure proper drainage to prevent ice expansion damage.
What plants grow best in tire planters?
Heat-loving plants like petunias, marigolds, zinnias, and herbs thrive in tire planters. Plants that prefer warm soil, like peppers and tomatoes, also do exceptionally well.