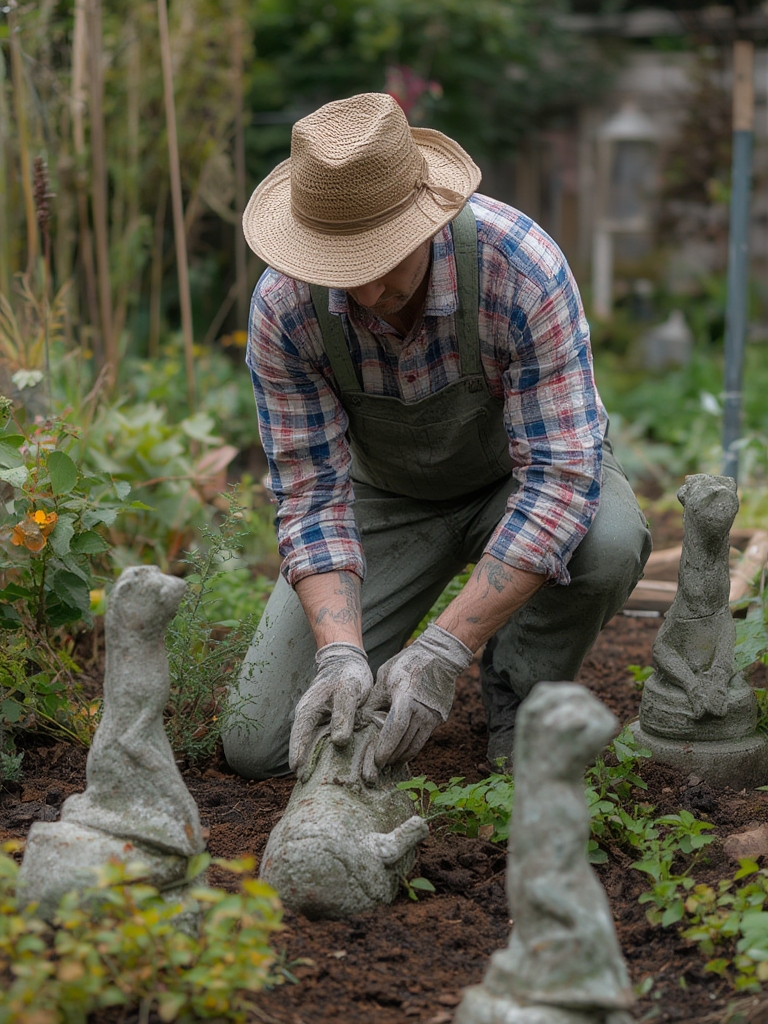
Have you ever wandered through a garden center admiring beautiful stone statues and ornaments, only to be shocked by their price tags? Creating your own concrete mold garden ornaments is not only budget-friendly but also allows you to express your creativity with custom pieces that perfectly complement your outdoor space.
With just a few basic materials and simple techniques, you can craft stunning concrete garden decor, DIY cement ornaments, garden statues, molded concrete projects, handmade garden art that will impress visitors and provide years of enjoyment.
Table of Contents
DIY Concrete Mold Garden Ornaments: Craft Unique Decorative Pieces
Materials & Supplies
- Concrete mix: Quick-setting concrete mix or Portland cement mixed with sand (ratio 1:3)
- Mixing bucket: Large plastic container for mixing concrete
- Mixing tool: Trowel or old wooden spoon
- Water: For mixing with concrete
- Release agent: Cooking spray, petroleum jelly, or commercial mold release
- Molds: Silicone baking molds, plastic containers, or custom-made molds
- Reinforcement (optional): Chicken wire or wire mesh for larger pieces
- Decorative elements: Glass beads, stones, mosaic pieces, or shells
- Protective gear: Rubber gloves, dust mask, and safety glasses
- Sandpaper: Fine-grit for smoothing rough edges
- Concrete sealer: To protect your finished ornaments from weather damage
Timing / Growing Schedule
Preparation time is typically 30-45 minutes for mixing and pouring. Curing time ranges from 24-72 hours depending on the size of your project and weather conditions. Complete drying may take up to a week for larger pieces. Plan your project during dry, moderate weather for optimal results—significantly faster than growing plants, which can take months to mature!
Step-by-Step Instructions
Prepare your workspace: Cover your work area with plastic sheeting and ensure good ventilation.
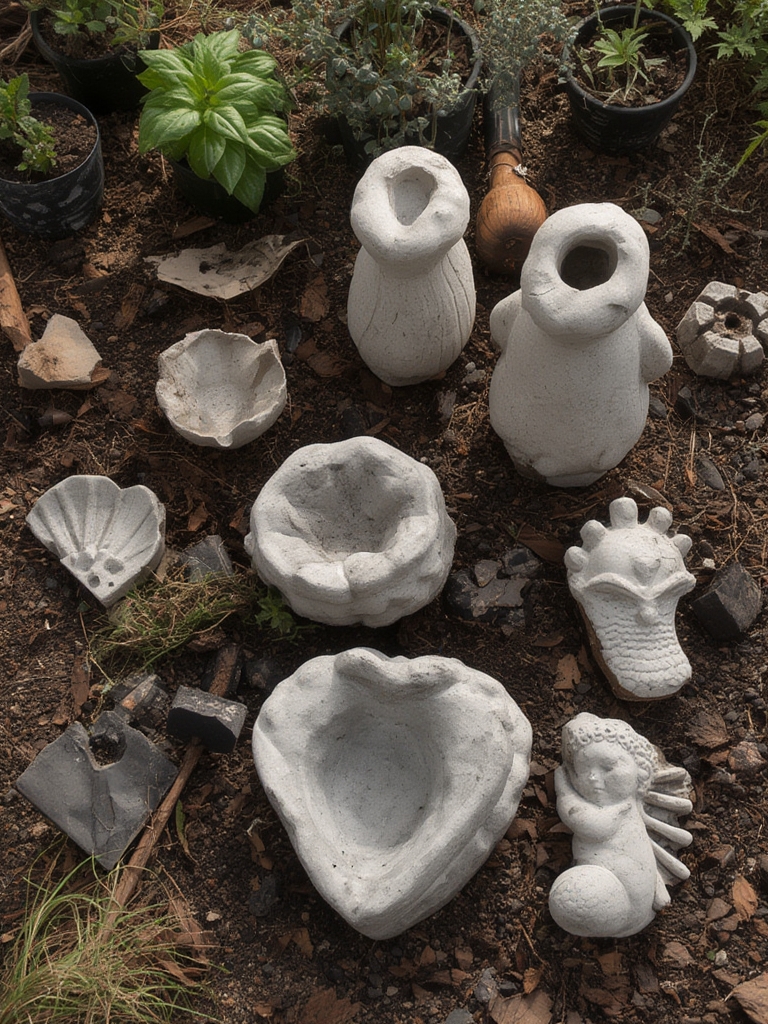
Prepare your molds: Apply a generous coat of release agent to the inside of your molds, ensuring all surfaces are covered to prevent sticking.
Mix the concrete: Combine concrete mix with water according to package instructions, aiming for a consistency similar to thick pancake batter. For decorative pieces, add a bit less water for stronger results.
Pour the concrete: Fill your molds halfway, then gently tap to release air bubbles. For larger pieces, add reinforcement wire at this point.
Add decorative elements: Press glass beads, stones, or other decorations into the surface if desired.
Complete the pour: Fill molds completely, tap again to remove air bubbles, and smooth the surface with a trowel.
Allow to cure: Let the concrete set for at least 24 hours without disturbing. Cover with plastic to retain moisture if in dry conditions.
Unmold carefully: Gently flex silicone molds to release the ornament, or tap plastic molds lightly.
Finish: Sand rough edges and apply concrete sealer according to product instructions.
Advantages
Creating your own concrete ornaments offers numerous benefits including cost savings (often 70-80% less than store-bought), customization options for personal expression, durability that withstands harsh weather, and the satisfaction of crafting something unique for your garden sanctuary.
Tips, Alternative Methods, or Gardening Advice
- Use hypertufa (a mixture of peat moss, vermiculite, and cement) for a lighter, more porous, aged look
- Create hollow ornaments by using two molds and pouring concrete between them
- Experiment with concrete colorants or stains for unique finishes
- Try embedding plants like succulents directly into your concrete pieces
- For winter protection in harsh climates, bring smaller ornaments indoors or cover with breathable garden fabric
Common Mistakes to Avoid
- Mixing concrete too wet: Results in weak, crumbly ornaments. Aim for thick, not soupy consistency.
- Skipping the release agent: Makes unmolding nearly impossible without breaking your creation.
- Rushing the curing process: Leads to cracks and weak spots. Patience yields stronger results.
- Neglecting safety gear: Concrete is caustic—always wear gloves and eye protection.
- Forgetting to seal: Unsealed concrete is susceptible to algae growth, staining, and faster deterioration.
Maintenance Tips
Clean ornaments annually with a soft brush and mild soapy water. Reapply concrete sealer every 1-2 years to extend lifespan. Remove any developing moss or algae with a diluted bleach solution. For winter protection in severe climates, elevate ornaments on small stones to prevent freeze-thaw damage.
Conclusion
Creating your own concrete garden ornaments combines practicality with artistic expression, resulting in unique decorative elements that personalize your outdoor space. With minimal investment and basic tools, you can craft durable pieces that would cost significantly more at garden centers. Start with simple projects and progress to more complex designs as your confidence grows—your garden will thank you with distinctive character and charm.
FAQs
How long will concrete ornaments last outdoors?
Properly sealed concrete ornaments can last 10-20 years outdoors, depending on climate conditions and maintenance.
Can I make concrete ornaments in cold weather?
It’s best to work when temperatures are above 50°F (10°C). In colder weather, cure pieces indoors and wait for warmer weather to place them outside.
Will concrete ornaments crack in freezing temperatures?
Quality concrete with proper air entrainment and sealing will resist cracking, but in extremely cold regions, consider bringing smaller pieces indoors for winter.
Can I paint my concrete ornaments?
Yes, use concrete-specific paint or acrylic paint with an outdoor sealer. Stains made specifically for concrete offer a more natural, weathered appearance.