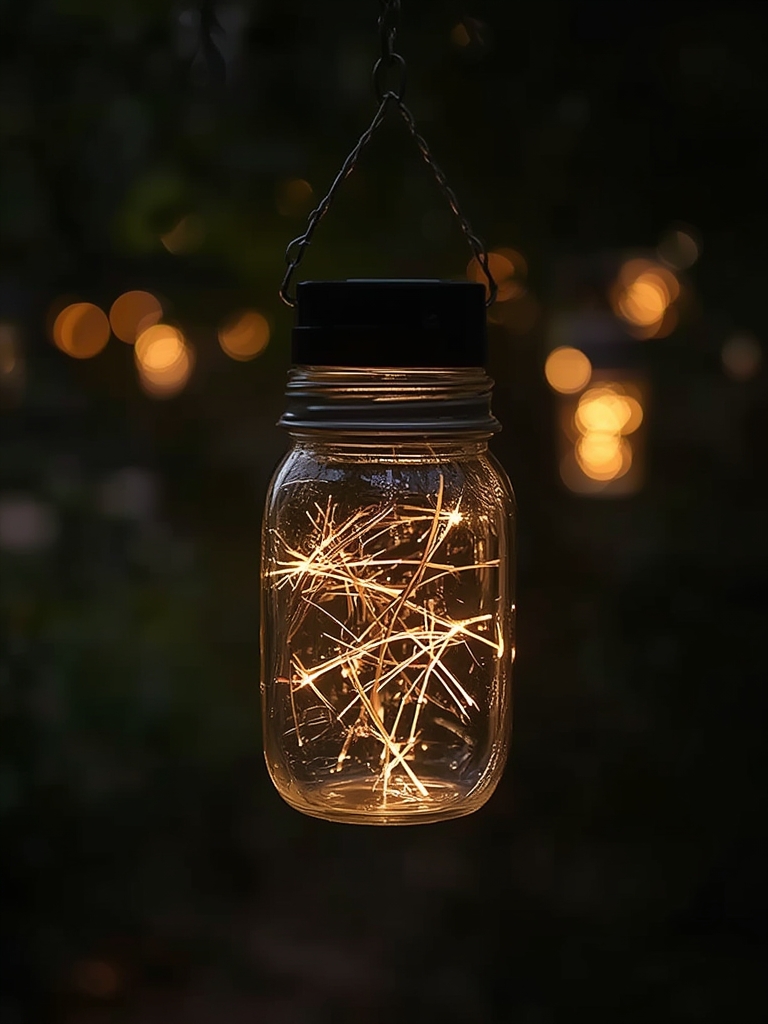
Have you ever walked through a garden at dusk and felt enchanted by the soft, magical glow of twinkling lights among the foliage? Creating this magical atmosphere doesn’t require expensive professional lighting or complicated electrical work. With hanging mason jar solar lights,
you can transform your outdoor space into a captivating retreat for less than $10 per light. These charming, eco-friendly luminaries harness the power of the sun during the day and automatically illuminate your garden, patio, or walkways once darkness falls. The best part? They’re remarkably easy to make!
Hanging Mason Jar Solar Lights: Illuminate Your Garden for Under $10
Materials & Supplies
To create your own budget-friendly garden illumination, you’ll need:
- Mason jars (regular or wide-mouth, any size works)
- solar mason jar lights, outdoor lighting ideas, DIY garden lights, hanging solar lanterns, budget lighting
- Wire for hanging (16-18 gauge recommended)
- Wire cutters/pliers
- Optional decorative elements (colored glass pebbles, frosted glass spray, waterproof fairy lights)
- Shepherd’s hooks or tree branches for hanging
- Clear silicone caulk (optional for weatherproofing)
- Decorative ribbon or twine (optional)
The solar lights are the most important component—look for small, waterproof solar deck lights with a separate solar panel and light component for optimal results.
Timing / Growing Schedule
Preparation time: 15-20 minutes per light
Drying time (if using frosted spray): 24 hours
Best season to install: Spring through fall
Longevity: 1-3 years, depending on weather conditions and light quality
These lights work best when installed during good weather, giving you plenty of time to enjoy them throughout the warmer months.
Step-by-Step Instructions
Prepare your solar lights: Remove the solar lights from their packaging and charge them in direct sunlight for 8-10 hours before assembly.
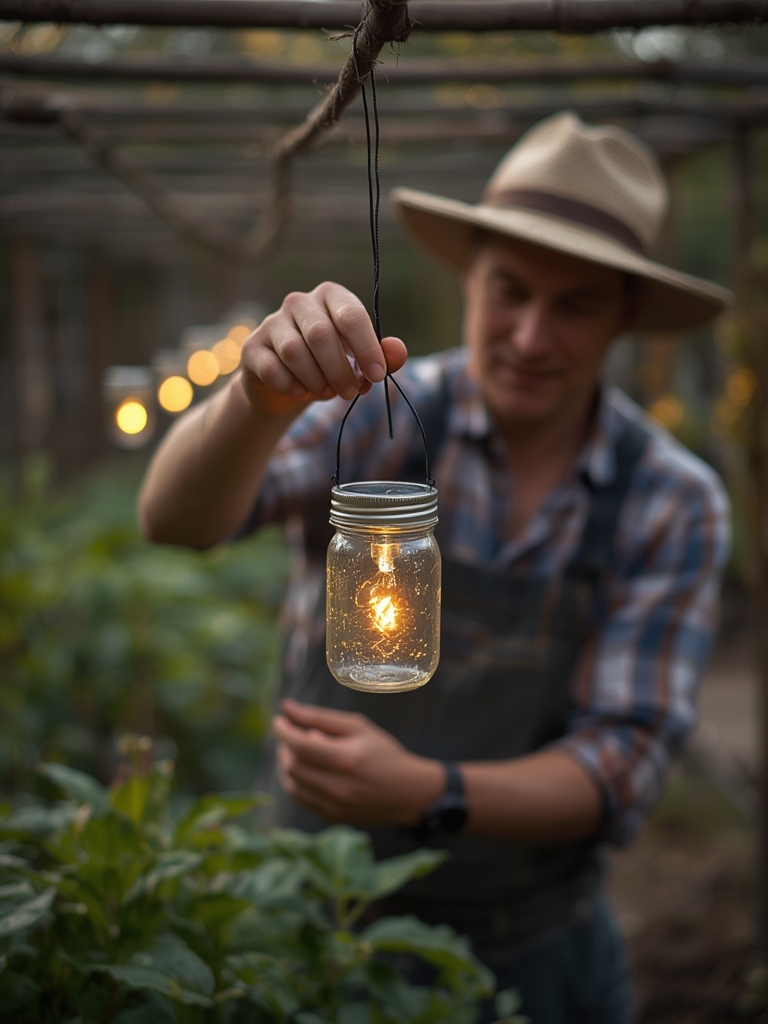
Create the hanging mechanism: Cut about 20 inches of wire and bend it into a handle shape that wraps securely around the mouth of your mason jar. Twist the ends together to secure.
Attach the solar light: Most solar lights can be adhered to the inside of the mason jar lid. Remove the solar panel from the light component if they’re separate.
Assemble your light: Place the light component inside the jar and position the solar panel on top of the lid where it will receive maximum sunlight. For separate panels, run the thin wire along the hanging wire.
Add decorative elements: If desired, add colored glass pebbles to the bottom of the jar for a colored glow, or apply frosted glass spray to the outside for a softer, diffused light.
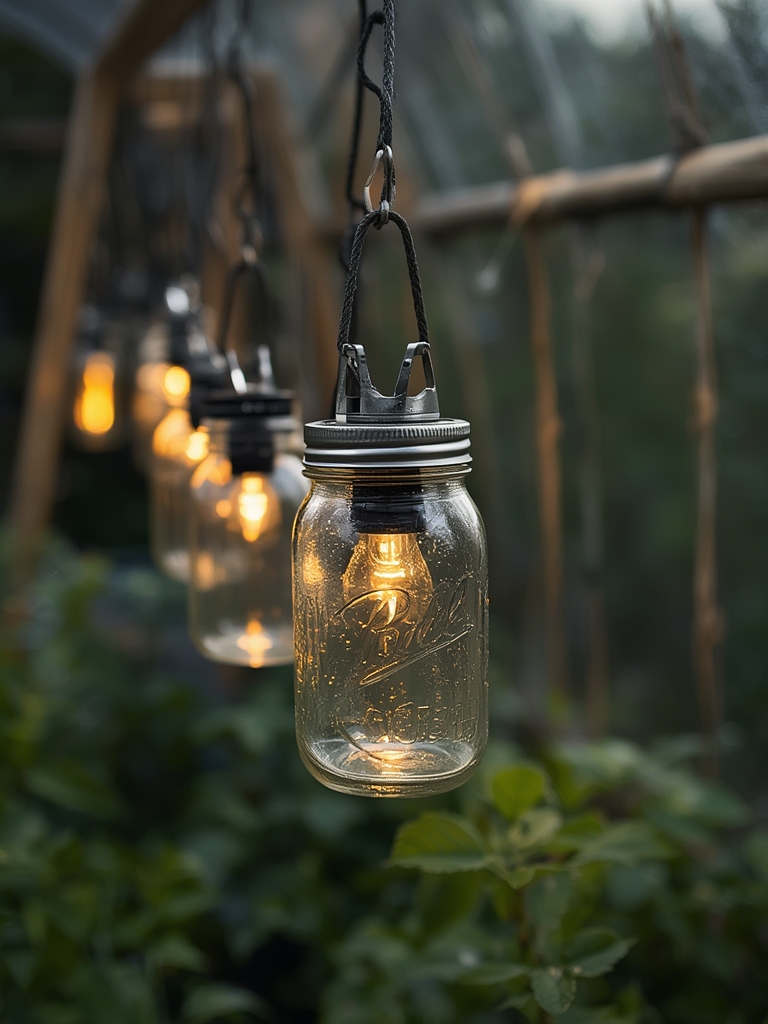
Hang your creation: Use shepherd’s hooks, tree branches, or pergola beams to hang your solar lights at different heights for visual interest.
Advantages
- Environmentally friendly with zero electricity costs
- Creates ambient lighting without fire hazards
- Weather-resistant and low-maintenance
- Customizable to match your garden aesthetic
- Portable and easily moved as needed
- Adds charm and character to outdoor spaces
Tips and Alternative Methods
- For winter durability, add a small bead of silicone around the lid to make the jars more weatherproof
- Create themed lights for holidays by adding seasonal decorations inside jars
- Use colored mason jars for a more vibrant glow
- Install hooks under deck railings for a cascading light effect
- For brighter illumination, use larger solar lights or multiple small lights per jar
Common Mistakes to Avoid
- Insufficient charging: Ensure solar panels receive direct sunlight for optimal charging
- Water accumulation: Position jars at a slight angle to prevent water pooling on solar panels
- Unstable hanging: Secure wire handles tightly to prevent jars from falling
- Overcrowding: Space lights appropriately for the best visual effect
- Forgetting seasonal maintenance: Remove and store in harsh winter climates
Maintenance Tips
- Clean solar panels monthly with a soft cloth to maintain charging efficiency
- Check wire hangers periodically for signs of rust or weakening
- Replace solar lights when they begin dimming (typically 1-2 years)
- Remove and store in protected locations during extreme weather
- Refresh decorative elements seasonally for continued visual appeal
Conclusion
Creating your own hanging mason jar solar lights is a satisfying, affordable project that yields beautiful results. With just a few simple materials and minimal effort, you can transform your outdoor space into a magical nighttime retreat. Whether lining a pathway, highlighting garden features, or creating ambiance for outdoor dining, these charming lights bring warmth and character to any garden setting.
FAQs
How long do solar mason jar lights typically last?
With proper care, the solar components typically last 1-2 years before needing replacement, while the jars and hanging mechanisms can last indefinitely.
Can I leave my mason jar solar lights outside year-round?
In moderate climates, yes. In areas with harsh winters or extreme weather, it’s best to store them indoors during the off-season.
Why aren’t my solar lights glowing brightly?
Check that the solar panel is receiving sufficient direct sunlight during the day and that it’s clean from dust or debris that might block sunlight absorption.
How can I make my solar mason jar lights more unique?
Try adding colored glass marbles, using tinted jars, wrapping decorative wire inside with mini LED strands, or etching designs on the glass for personalized shadow patterns.