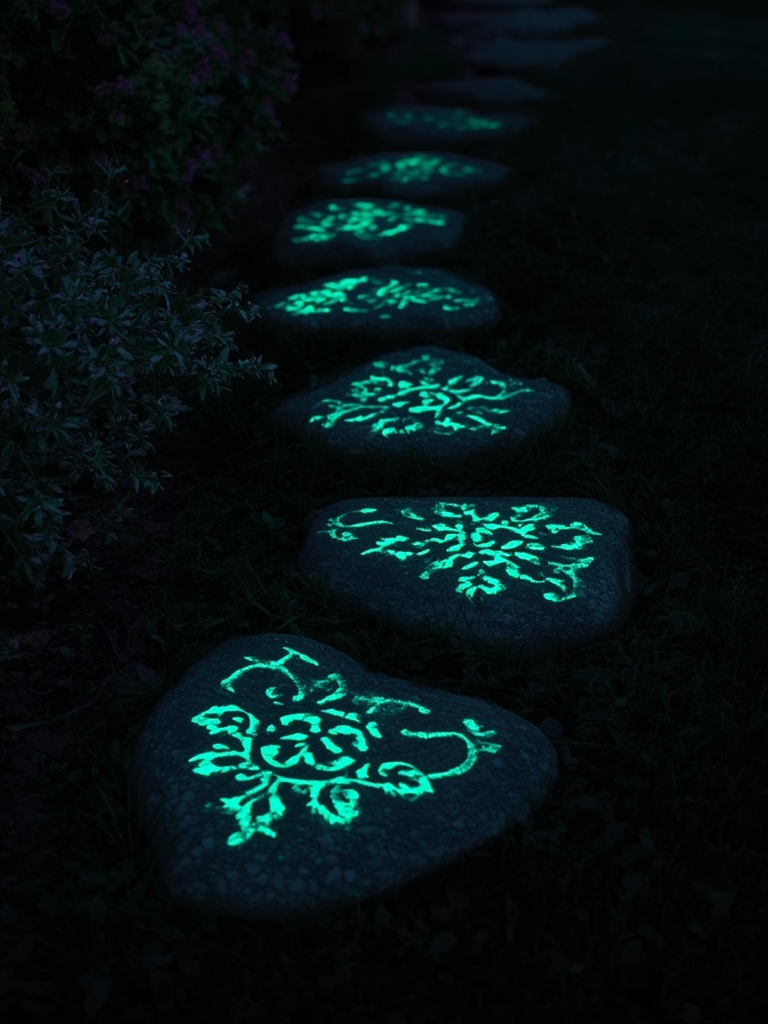
Are you tired of forgetting what you’ve planted in your garden? Ever mistaken your basil for mint until it was too late? Creating painted rock garden markers is not only a practical solution but also adds a charming, personalized touch to your outdoor space. These durable,
weather-resistant markers will last for seasons to come, unlike traditional plastic labels that fade and break. Plus, making them is a delightful afternoon project that even kids can enjoy!
Table of Contents
How to Make Painted Rock Garden Markers
Materials & Supplies

To create your own painted stone markers, garden plant labels, rock painting ideas, DIY plant tags, vegetable garden markers, you’ll need:
- Smooth, flat rocks (2-4 inches in diameter)
- Acrylic craft paints in various colors
- Fine-tipped permanent markers (black or other dark colors)
- Clear acrylic sealer spray
- Small paintbrushes (various sizes)
- Pencil for sketching
- Container of water for rinsing brushes
- Paper towels
- Optional: Paint pens for detailed work
- Optional: Stencils for plant names or designs
Choose rocks that have at least one flat side for stability when placed in soil, and make sure they’re clean and dry before starting.
Timing / Growing Schedule
Preparation time: 30 minutes for collecting and cleaning rocks
Painting time: 1-2 hours, depending on complexity
Drying time: 24 hours between paint and sealer application
Season: Best done in spring before planting or anytime your garden needs organization
This project is perfect for a rainy weekend before planting season begins, giving you plenty of time to prepare your markers before seeds go into the ground.
Step-by-Step Instructions
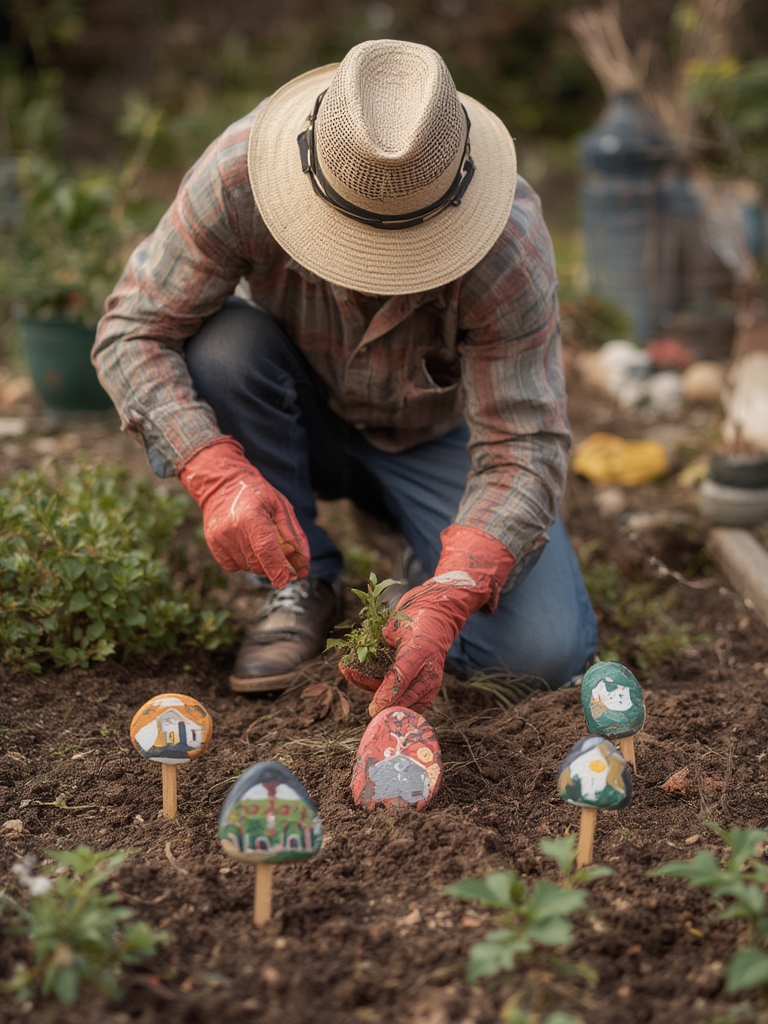
Prepare your rocks: Wash the collected rocks with soap and water, then let them dry completely. For better paint adhesion, wipe them with rubbing alcohol.
Apply base coat: Paint the entire visible surface of each rock with a base color. White makes future colors pop, but natural stone colors like tan or gray create a more rustic look. Allow to dry completely (approximately 1 hour).
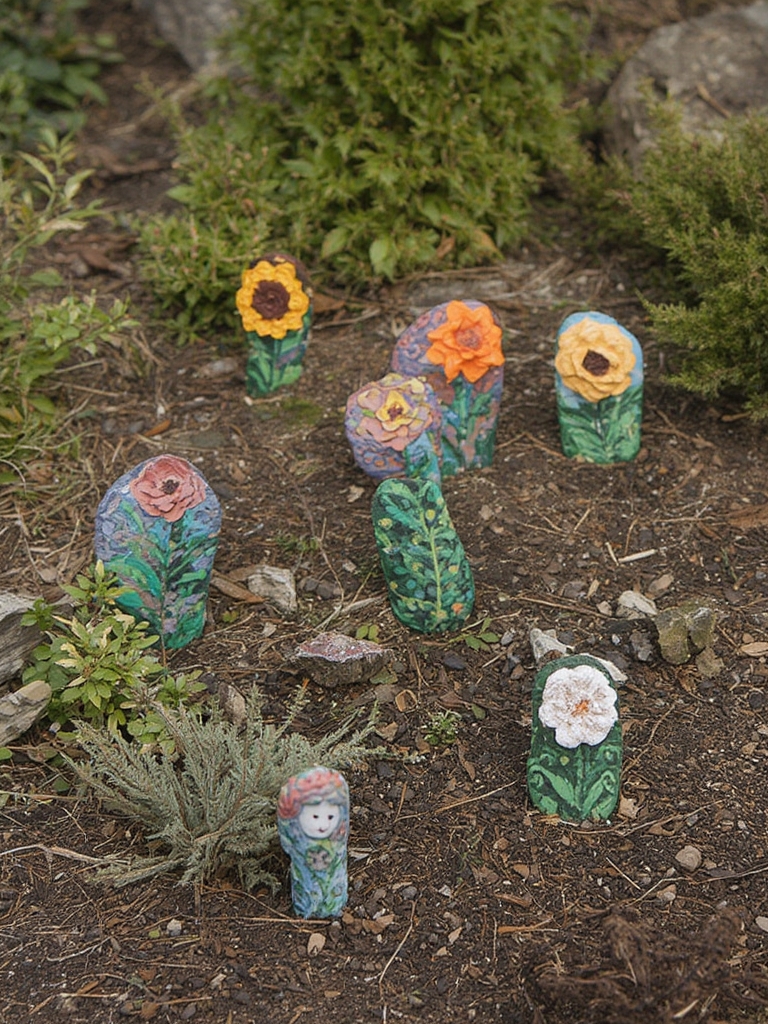
Plan your designs: Lightly sketch the plant names and any decorative elements on each rock with a pencil. Consider adding small illustrations of the plant for visual identification.
Paint your designs: Using acrylic paints, fill in your sketched areas with color. For text, you can either paint carefully or use a fine-tip permanent marker after the background colors have dried.
Add details: Once the main colors have dried, add details like veining on leaves, dots, or borders to make your markers more visually appealing.
Seal your creation: In a well-ventilated area, apply 2-3 light coats of clear acrylic sealer to protect your rocks from weather and fading. Wait 15 minutes between coats.
Advantages
Creating your own painted rock markers offers numerous benefits:
- Eco-friendly alternative to plastic labels
- Weather-resistant and long-lasting (often for years)
- Cost-effective, especially for large gardens
- Personalized designs that enhance garden aesthetics
- Heavy enough to stay in place during rain or wind
- Wonderful activity for teaching children about garden plants
Tips and Alternative Methods
- For extra durability, use exterior house paint instead of craft acrylics
- Try painting the bottom of the rock to prevent soil staining
- Create themed markers matching your garden style (vibrant for vegetable gardens, pastel for cottage gardens)
- Use metallic paints for elegant herb garden markers
- For winter storage, gather all markers in a decorative container to prevent loss
Common Mistakes to Avoid
- Using porous or crumbly rocks: These won’t hold paint well and may deteriorate
- Skipping the sealer: Unsealed rocks will fade and chip quickly in outdoor conditions
- Writing too small: Make text large and bold enough to read from a standing position
- Overcomplicating designs: Simple, bold designs last longer and are more visible
- Placing markers in heavily irrigated areas: Constant water exposure may reduce longevity
Maintenance Tips
- Rinse gently with water if markers become muddy
- Touch up with paint if needed after a season of use
- Store indoors during harsh winter months for extended life
- Apply a fresh coat of sealer annually for maximum protection
- Keep a photo record of your designs for easy recreation if needed
Conclusion
Creating your own painted rock garden markers combines practicality with artistic expression, resulting in charming, sustainable labels that enhance your garden’s beauty. The process is simple enough for beginners yet offers endless creative possibilities for the artistically inclined. Start with a few markers for your most-used herbs or vegetables, then expand your collection as you grow more varieties.
How to Make Painted Rock Garden Markers
FAQs
How long will painted rock markers last in the garden?
With proper sealing and occasional maintenance, they can last 3-5 years or more, depending on your local climate conditions.
Can I use rocks from my garden, or should I buy them?
Garden rocks work perfectly! Just ensure they’re clean and have a suitable surface for painting. Landscape supply stores also sell smooth river rocks if you need more.
Will the paint run or fade in rainy conditions?
When properly sealed with multiple coats of acrylic sealer, the paint should resist fading and running for at least one growing season.
Can children help with this project?
Absolutely! Children can help collect rocks, paint base coats, or add simple designs. Adult supervision is recommended for the sealing stage.