Have you ever wanted to add a touch of greenery to your home that’s both elegant and nearly impossible to kill? Spider plants are the perfect solution for both experienced gardeners and those who claim to have a “black thumb.” With their arching variegated leaves and ability to thrive in various conditions, these plants have become a staple in indoor gardening. Understanding spider plant care is surprisingly simple,
Table of Contents
while mastering spider plant watering ensures your plant will not just survive but flourish for years to come. Let’s explore how to make these captivating houseplants a stunning addition to your interior spaces.
Materials & Supplies
To successfully grow spider plants at home, you’ll need:
1. Mature Spider Plant or Spiderettes – Either purchase a full plant or obtain baby plantlets from a friend’s mature plant
2. Well-Draining Potting Mix – Preferably a mix designed for houseplants or with added perlite
3. Container with Drainage Holes – 6-8 inch pot for a single plant (ceramic, plastic, or hanging planters all work well)
4. Watering Can – Preferably with a narrow spout for controlled watering
5. Pruning Shears or Sharp Scissors – For removing brown tips or harvesting plantlets
6. Liquid Houseplant Fertilizer – Diluted to half-strength for occasional feeding
7. Spray Bottle – Optional for increasing humidity (especially during winter)
8. Plant Hanger – Optional but ideal for displaying cascading growth
Timing / Growing Schedule
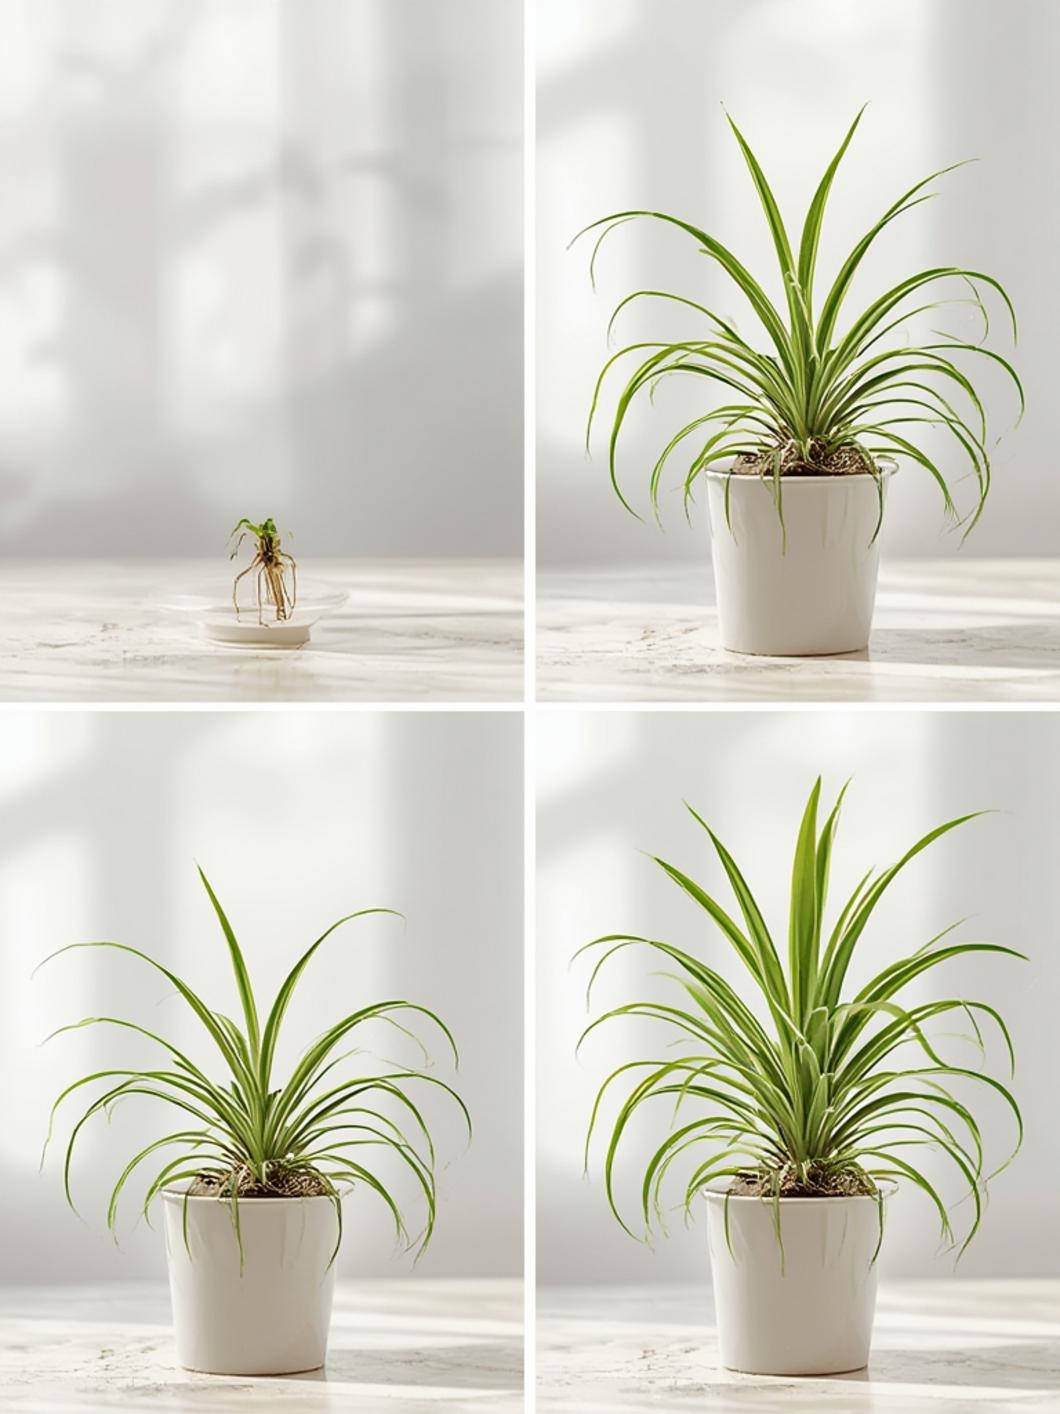
Spider plants grow year-round as houseplants but have distinct seasonal patterns. Spring and summer mark their active growth periods when you’ll notice the most leaf production and “spiderette” development. These months are ideal for propagation and repotting. Growth slows considerably during fall and winter, requiring less frequent watering and no fertilization. From initial planting, expect to see new growth within 2-4 weeks. A mature display with cascading babies typically takes 6-12 months, significantly faster than many houseplants like fiddle leaf figs that can take years to reach impressive size.
Step-by-Step Instructions
1. Select the Right Location: Place your spider plant in bright, indirect light. Eastern or northern windows are ideal as direct afternoon sun can scorch leaves.
2. Prepare the Pot: Fill your container with well-draining potting mix, leaving about an inch of space at the top.
3. Planting: Position the spider plant so the crown (where stems meet roots) sits just at soil level. Firm the soil gently around the plant.
4. Initial Watering: Thoroughly water until it drains from the bottom, then empty the drainage saucer. Proper spider plant watering from the start establishes healthy roots.
5. Establish Care Routine: Wait until the top 1-2 inches of soil feel dry before watering again. This typically means watering once every 7-10 days, depending on your home’s conditions.
6. Maintenance: Basic spider plant care includes occasional dusting of leaves and removing any brown tips with clean scissors.
7. Propagation: When plantlets appear on long stems, you can root them in water or directly in soil to create new plants.
Nutritional Benefits / Advantages
Spider plants offer more than aesthetic appeal. They’re among NASA’s top air-purifying plants, effectively removing formaldehyde, xylene, and toluene from indoor air. This makes them particularly valuable in newer homes with potential off-gassing from furniture and building materials. They’re also non-toxic to pets, making them a safe choice for households with curious cats and dogs. Additionally, their growth habit provides a natural humidity boost to dry indoor environments.
Tips, Alternative Methods, or Gardening Advice
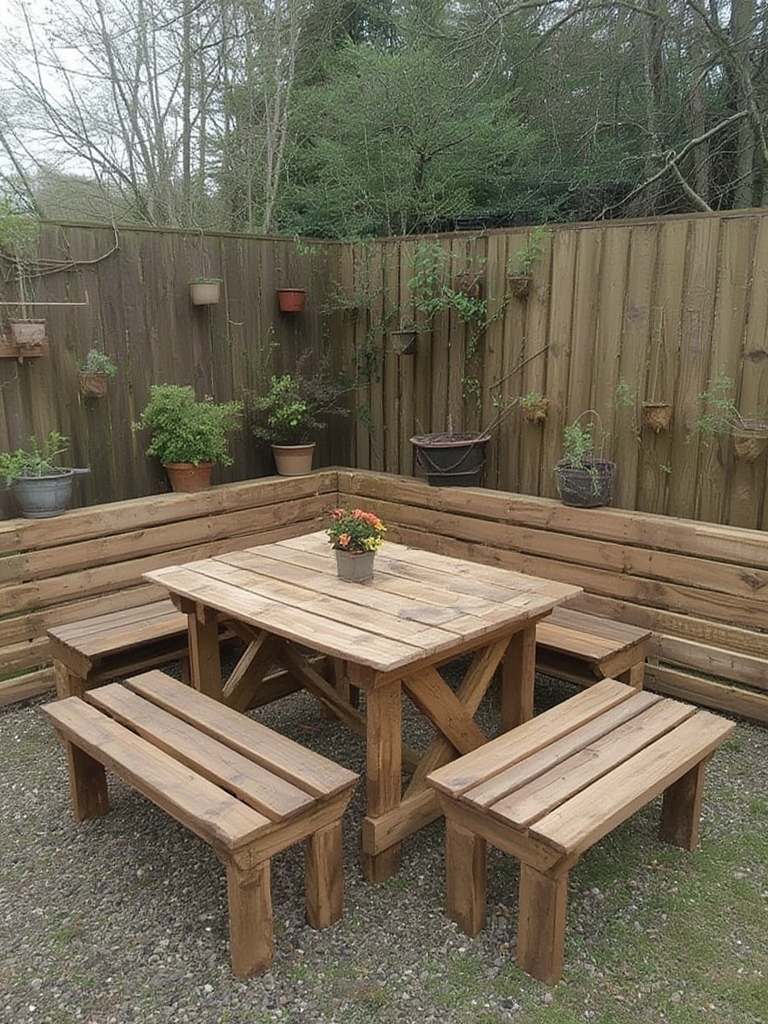
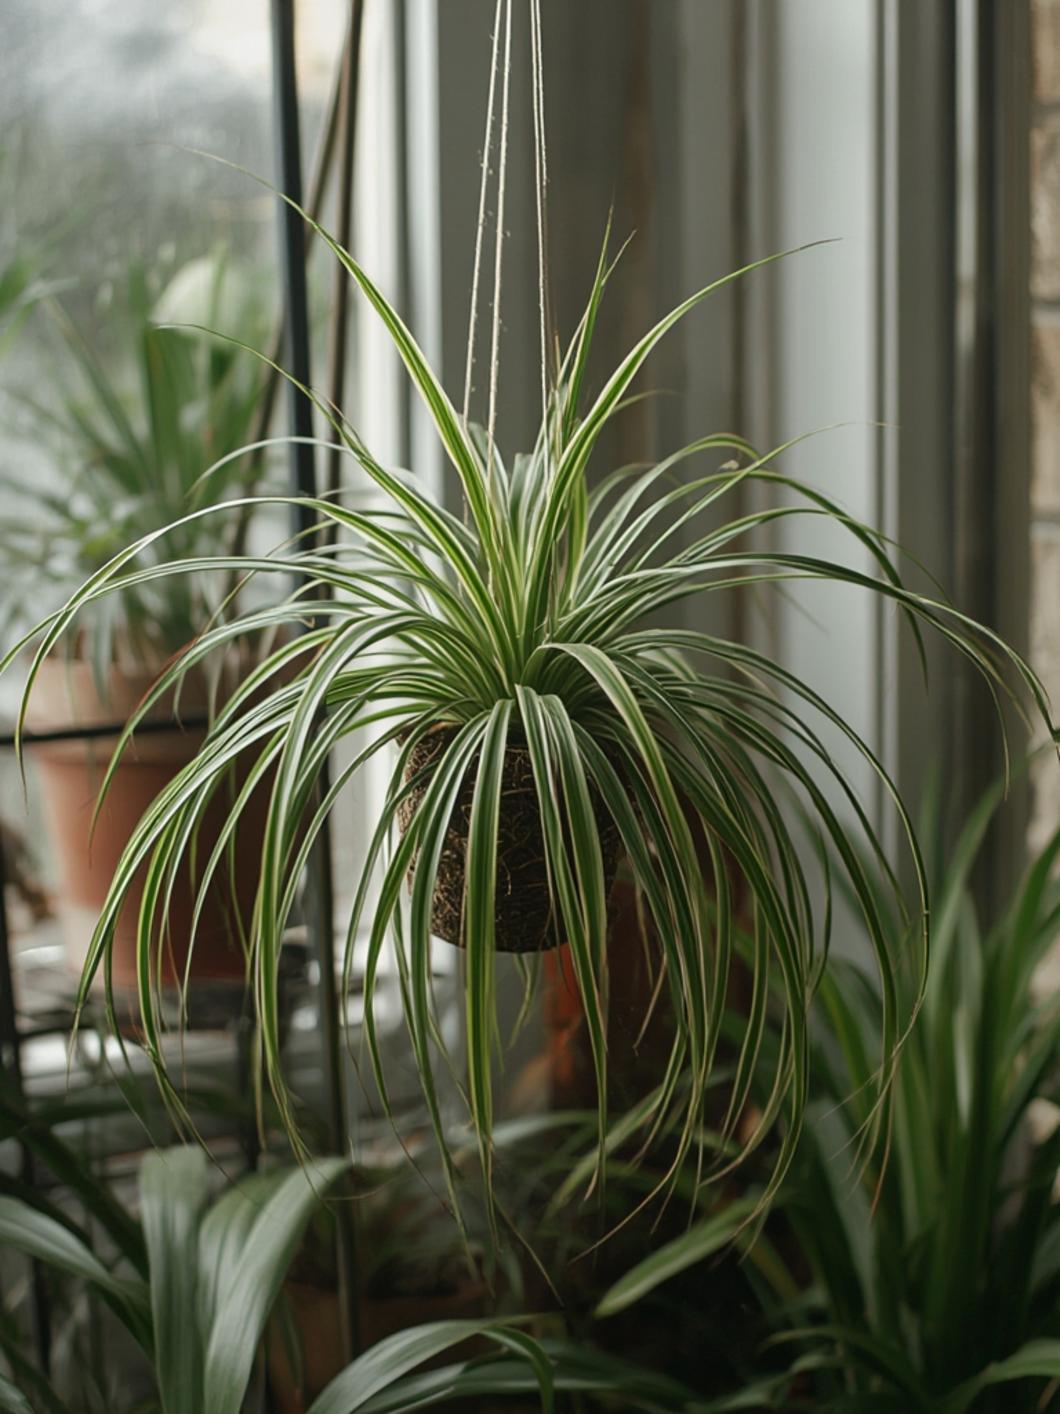
- Hanging Displays: Spider plants look spectacular in hanging baskets where their arching leaves and plantlets can cascade downward.
- Bathroom Growing: They thrive in bathroom environments due to higher humidity levels.
- Temperature Considerations: Keep plants away from drafts and maintain temperatures between 65-75°F.
- Grouping Strategy: Place multiple spider plants together to create a dramatic display and increase local humidity.
- Variegation Management: More light enhances the white striping in variegated varieties.
Common Mistakes to Avoid

1. Overwatering: The most common killer of spider plants. Wait until soil dries out partially before watering again.
2. Using Tap Water: Spider plants are sensitive to fluoride and chlorine. Use filtered, distilled water, or leave tap water out overnight before using.
3. Ignoring Brown Tips: These often indicate low humidity or mineral buildup from tap water, not necessarily poor care.
4. Insufficient Light: While tolerant of lower light, too-dark conditions result in leggy growth and poor variegation.
5. Forgetting to Repot: Plants become root-bound quickly, requiring repotting every 1-2 years.
Storage / Maintenance Tips
Spider plants require minimal maintenance once established. Water thoroughly when the top inch of soil feels dry, typically every 7-10 days in summer and less in winter. Fertilize monthly during the growing season with half-strength houseplant fertilizer. Trim brown leaf tips with clean scissors, and remove entirely yellowed leaves at the base. Repot when roots begin circling or emerging from drainage holes, usually every 1-2 years in spring. For the best appearance, rotate plants occasionally to encourage even growth.
Conclusion
With their resilient nature and graceful appearance, spider plants are perfect for beginners and experienced plant parents alike. The right spider plant care routine requires minimal effort but delivers maximum visual impact. Remember that consistent spider plant watering is key to their longevity, so develop a schedule that works for your environment. Start with one plant, and you’ll soon find yourself surrounded by its offspring, creating a living decor element that purifies your air while beautifying your space. Why not add this virtually indestructible plant to your collection today?
FAQs
Why are my spider plant’s leaf tips turning brown?
Brown tips usually indicate either fluoride sensitivity from tap water, low humidity, or salt buildup from fertilizer. Switch to filtered water and increase humidity by misting occasionally.
How often should I repot my spider plant?
Spider plants typically need repotting every 1-2 years when they become rootbound. Choose a pot just 1-2 inches larger than the current one.
Can I place my spider plant outside?
Yes, spider plants enjoy summer vacations outdoors in dappled shade. Bring them inside before temperatures drop below 55°F.
Why isn’t my spider plant producing babies?
Spider plants produce plantlets only when mature and somewhat rootbound. Ensure your plant gets bright indirect light and is not in too large a pot.
Do spider plants need special soil?
Any good quality, well-draining potting mix works well. Adding extra perlite improves drainage for these plants that prefer to dry out between waterings.