Have you ever wanted to add vibrant splashes of color to your garden but felt intimidated by complicated flower varieties? marigolds for beginners offer the perfect solution with their hardy nature and spectacular blooms. These cheerful flowers are remarkably forgiving,
Table of Contents
making them ideal for those just starting their marigold gardening for beginners journey. Their low-maintenance requirements and impressive visual impact make them a valuable addition to any home garden, providing both beauty and natural pest control benefits.
Growing Marigolds: The Perfect Flower for Gardening Beginners
Materials & Supplies
To get started with your marigold garden, you’ll need:
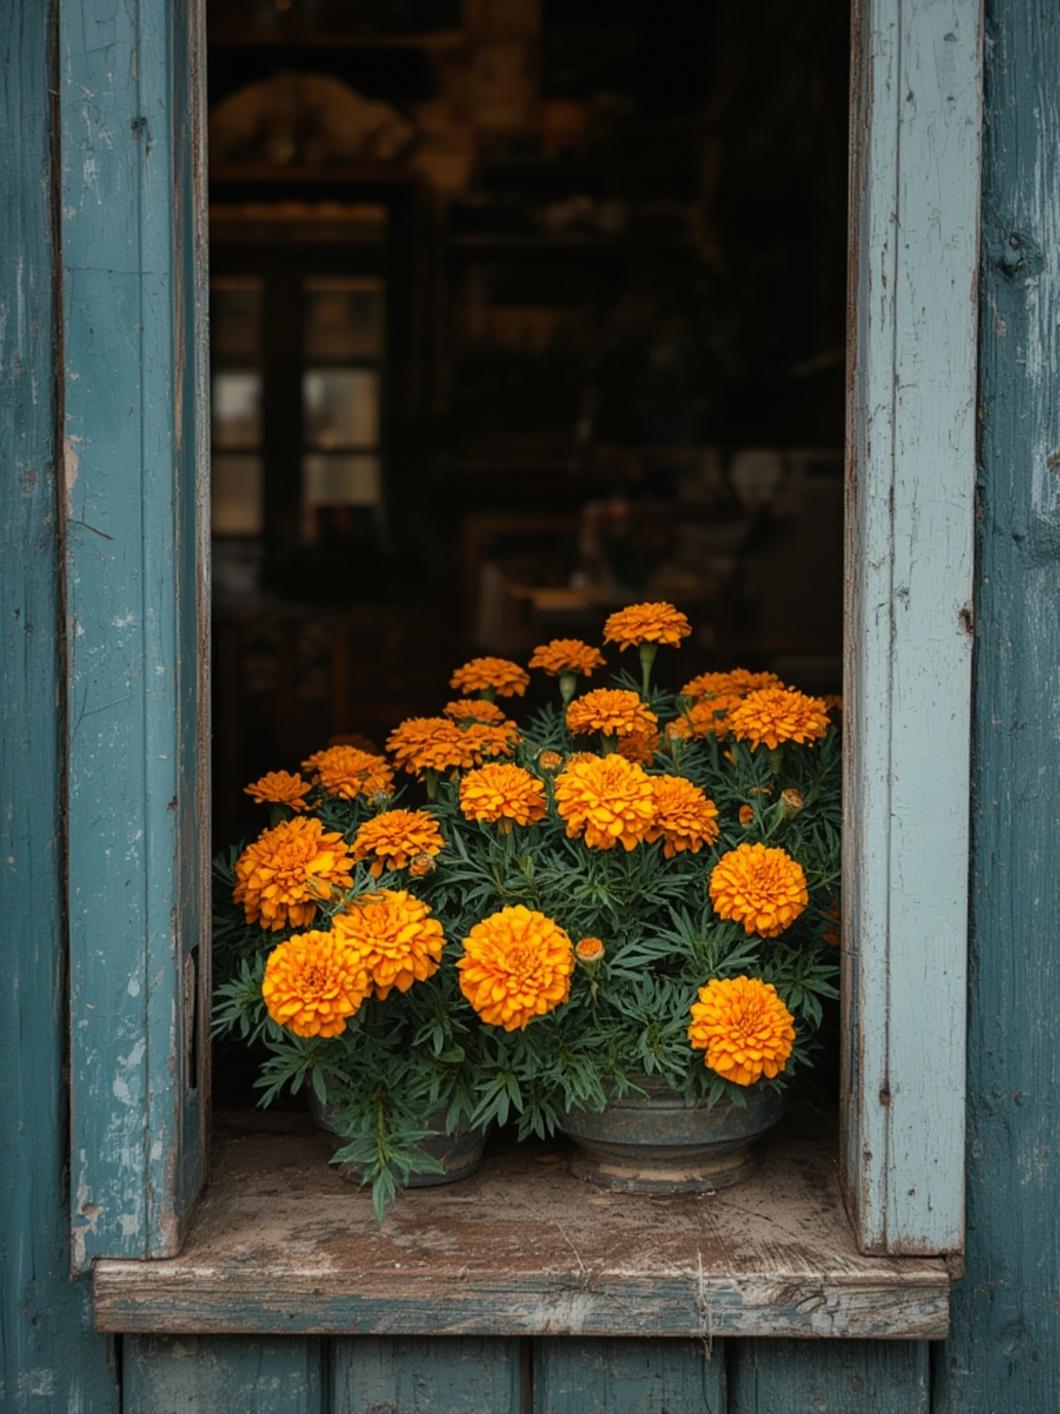
- Marigold seeds or seedlings (French or African varieties recommended for novices)
- Quality potting soil or garden soil mixed with compost
- Garden containers or prepared garden bed
- Watering can or garden hose with spray nozzle
- Basic garden tools (trowel, gardening gloves, small rake)
- General-purpose organic fertilizer (optional)
- Mulch for moisture retention (optional)
- Plant labels or markers
- Pruning shears for deadheading
Timing / Growing Schedule
Marigolds grow best when planted after the last spring frost. In most regions, this means:
- Seed starting indoors: 6-8 weeks before last frost date
- Direct outdoor sowing: After danger of frost has passed
- Growth period: 2-3 months from seed to bloom
- Flowering season: Summer through fall, until first frost
One advantage of marigolds is their quick growth cycle—you’ll see blooms within 8 weeks of planting seeds, making them perfect for gardeners seeking relatively fast results.
Step-by-Step Instructions
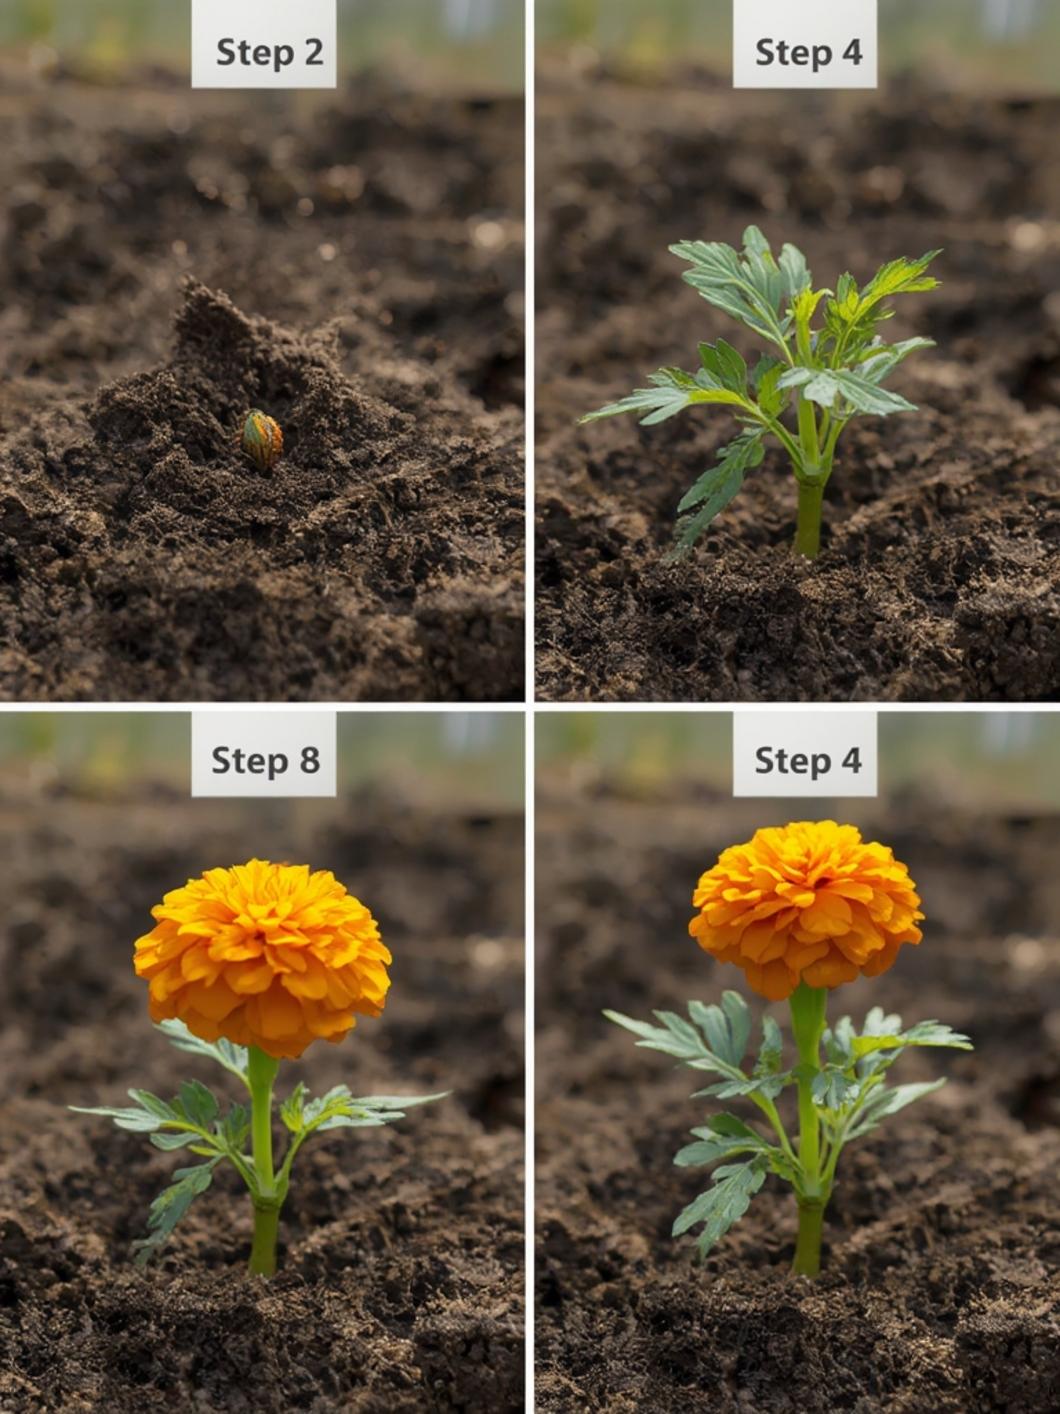
1. Prepare your planting area: Choose a sunny spot that receives 6+ hours of sunlight daily. marigolds for beginners thrive in well-draining soil, so amend heavy clay soil with compost if necessary.
2. Sow the seeds: Plant marigold seeds ¼ inch deep and 8-10 inches apart. If using seedlings, space them according to their mature size (typically 8-12 inches for French marigolds).
3. Water properly: Keep soil consistently moist until seedlings emerge (usually 5-7 days). Once established, water only when the top inch of soil feels dry.
4. Apply fertilizer sparingly: A light application of all-purpose fertilizer when planting is usually sufficient. Too much nitrogen encourages lush foliage at the expense of flowers.
5. Deadhead regularly: Remove spent blooms to encourage continuous flowering, a simple but effective practice in marigold gardening for beginners that extends the blooming period significantly.
6. Monitor for pests: While naturally pest-resistant, occasionally check for aphids and treat with a gentle spray of water if necessary.
Nutritional Benefits / Advantages
Marigolds offer more than just visual appeal:
- Natural pest deterrent, protecting neighboring plants from harmful insects
- Some varieties have edible flowers that can add color to salads
- Rich source of lutein, beneficial for eye health
- Contain anti-inflammatory and antiseptic properties
- Improve soil health by deterring harmful nematodes
Tips, Alternative Methods, or Gardening Advice
- Container growing: Marigolds thrive in pots at least 6-8 inches deep with drainage holes.
- Companion planting: Place marigolds alongside vegetables like tomatoes, cucumbers, and peppers to deter pests naturally.
- Indoor cultivation: Dwarf varieties can grow on sunny windowsills year-round.
- Seed saving: Allow some flowers to dry completely on the plant, then collect seeds for next season.
- Successive planting: Stagger seed sowing every 2-3 weeks for continuous blooms.
Common Mistakes to Avoid

1. Overwatering: Marigolds prefer slightly dry conditions; soggy soil leads to root rot.
2. Overcrowding: Give plants adequate spacing for proper air circulation to prevent fungal diseases.
3. Inadequate sunlight: Placing marigolds in shady areas results in leggy plants with fewer blooms.
4. Over-fertilizing: Excessive feeding produces lush foliage but fewer flowers.
5. Neglecting deadheading: Failing to remove spent blooms reduces flowering potential.
Storage / Maintenance Tips
- Watering routine: Water at the base of plants in the morning to prevent leaf diseases.
- Seasonal care: Apply a light layer of mulch during hot summers to retain moisture.
- Flower preservation: Harvest fully open blooms for drying by hanging upside down in a dark, dry area.
- Fall cleanup: Remove and compost plants after the first frost to prevent disease carryover.
- Seed storage: Store collected seeds in paper envelopes in a cool, dry place for up to 3 years.
Conclusion
Growing marigolds offers a perfect entry point into flower gardening with their simple care requirements and spectacular results. Whether you’re creating a pollinator garden, adding natural pest control, or simply seeking vibrant color, marigolds for beginners deliver on all fronts. Take your first steps in marigold gardening for beginners this season and discover why these resilient flowers have remained garden favorites for generations. Why not plant a few varieties and share your colorful results with fellow garden enthusiasts?
FAQs
How often should I water my marigolds?
Water marigolds when the top inch of soil feels dry to the touch, typically every 3-5 days depending on weather conditions. They prefer being slightly underwatered rather than overwatered.
Do marigolds come back every year?
Most common marigold varieties are annuals that need replanting each year. However, they often self-seed readily, giving the appearance of returning naturally.
Can I grow marigolds indoors?
Yes! Dwarf varieties grow well indoors near sunny windows. Ensure they receive 6-8 hours of bright light daily and good air circulation.
Are marigolds truly effective at repelling garden pests?
Yes, marigolds produce a natural compound called alpha-terthienyl that repels many garden pests, particularly nematodes and some insect species. They’re especially effective when planted alongside vegetables.
How do I harvest marigold seeds for next year?
Allow flowers to fully dry on the plant until they turn brown. Gently remove the dried flower head and break it open to collect the long, thin black seeds with white tips. Store in paper envelopes until planting season.