Have you ever strolled through a garden and admired those personalized stepping stones that seem to tell a story with every step? Creating your own DIY garden stepping stones is not only a satisfying weekend project but also an opportunity to add character and charm to your outdoor space.
These decorative pathways serve both practical and aesthetic purposes guiding visitors through your garden while showcasing your creativity. The beauty of making custom concrete stepping stones, DIY pathway stones, garden walkway ideas, mosaic stepping stones, handmade garden path is that each piece becomes a unique reflection of your personal style.
Table of Contents
DIY Garden Stepping Stones: Create Beautiful Pathways with Concrete & Seashells
Materials & Supplies
To create your own garden stepping stones, you’ll need:
- Quick-setting concrete mix (40-60 lbs depending on how many stones you want to make)
- Large plastic mixing tub or wheelbarrow
- Water
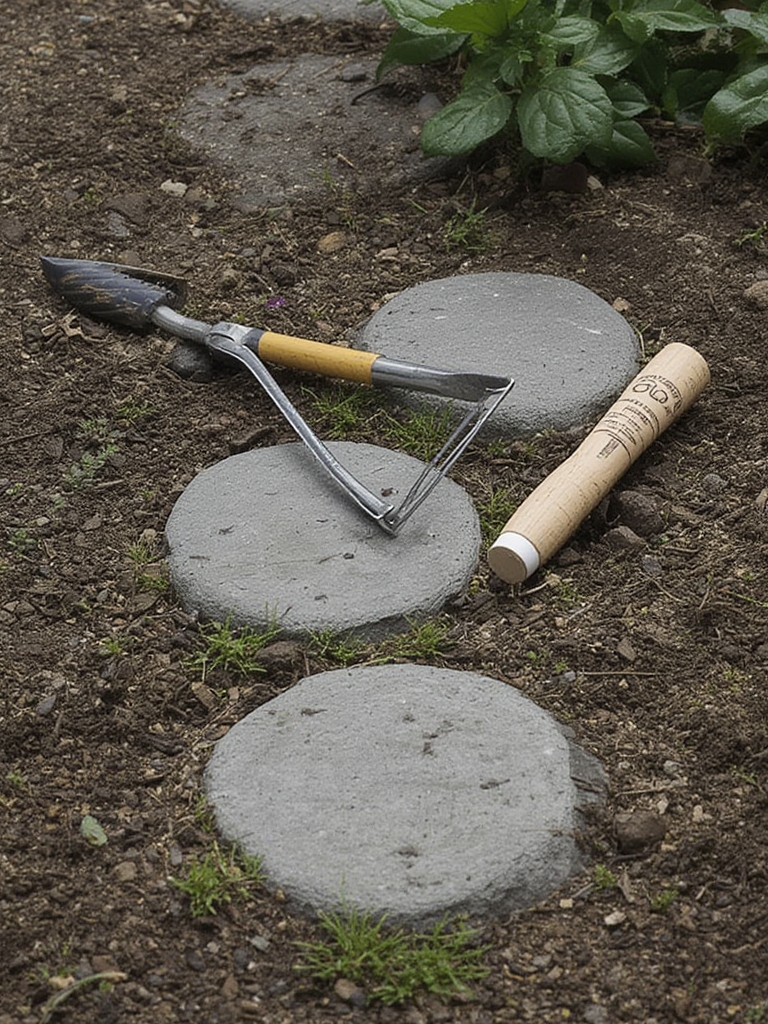
- Sturdy mixing tool or garden trowel
- Molds (commercial stepping stone molds, cake pans, or large plastic plant saucers)
- Cooking spray or petroleum jelly as a release agent
- Decorative items (seashells, colored glass pieces, marbles, mosaic tiles, pebbles)
- Optional: concrete colorant
- Rubber gloves and dust mask
- Measuring cup
- Level
- Sandpaper (medium grit)
- Clear outdoor sealant spray
Timing / Growing Schedule
This project requires approximately 2-3 hours of active work per batch of stones, plus 24-48 hours of curing time. Plan to work on a warm, dry day when temperatures will remain above 50°F (10°C) for at least 24 hours. Most stones will be ready to place in your garden after 48 hours but will continue to strengthen over the next 28 days. This makes spring or early summer ideal for creating stepping stones that will be fully cured and ready for summer garden enjoyment.
Step-by-Step Instructions
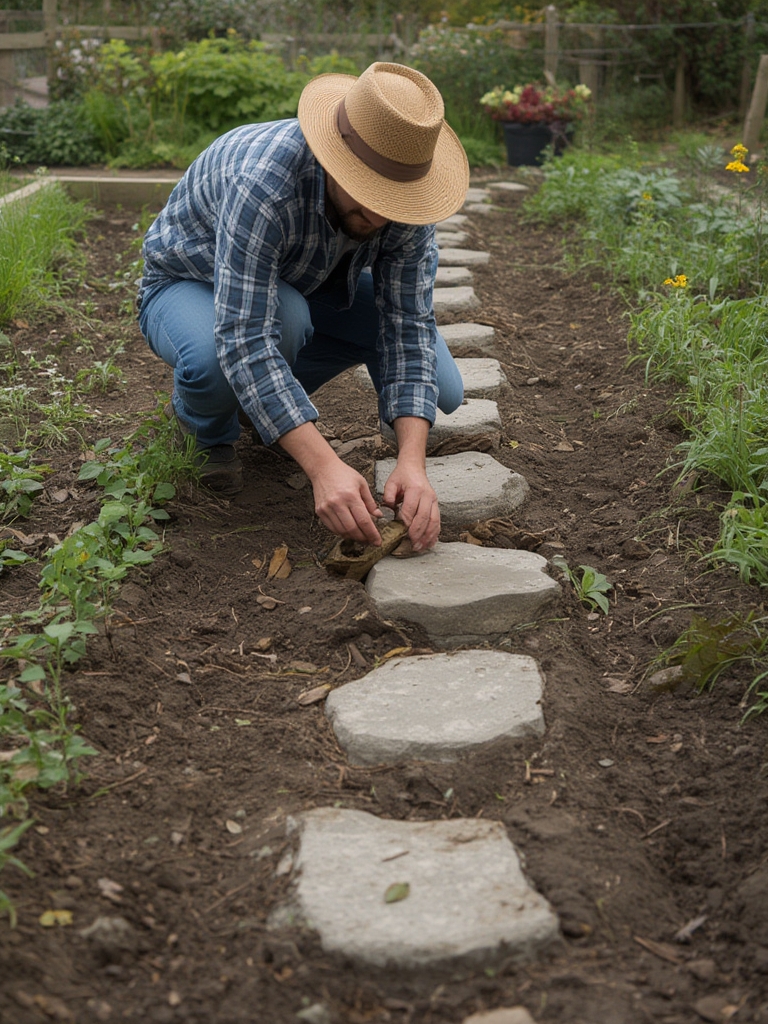
Prepare your workspace: Lay down a tarp in a flat, outdoor area where the stones can remain undisturbed for 48 hours.
Prepare your molds: Coat the inside of your molds with cooking spray or petroleum jelly to prevent concrete from sticking.
Mix the concrete: Following package instructions, combine concrete mix with water in your mixing tub. Aim for a thick, pancake-batter consistency. Add colorant at this stage if desired.
Pour the mixture: Fill each mold about 2 inches deep with the concrete mixture. Tap the sides to release air bubbles and smooth the surface with your trowel.
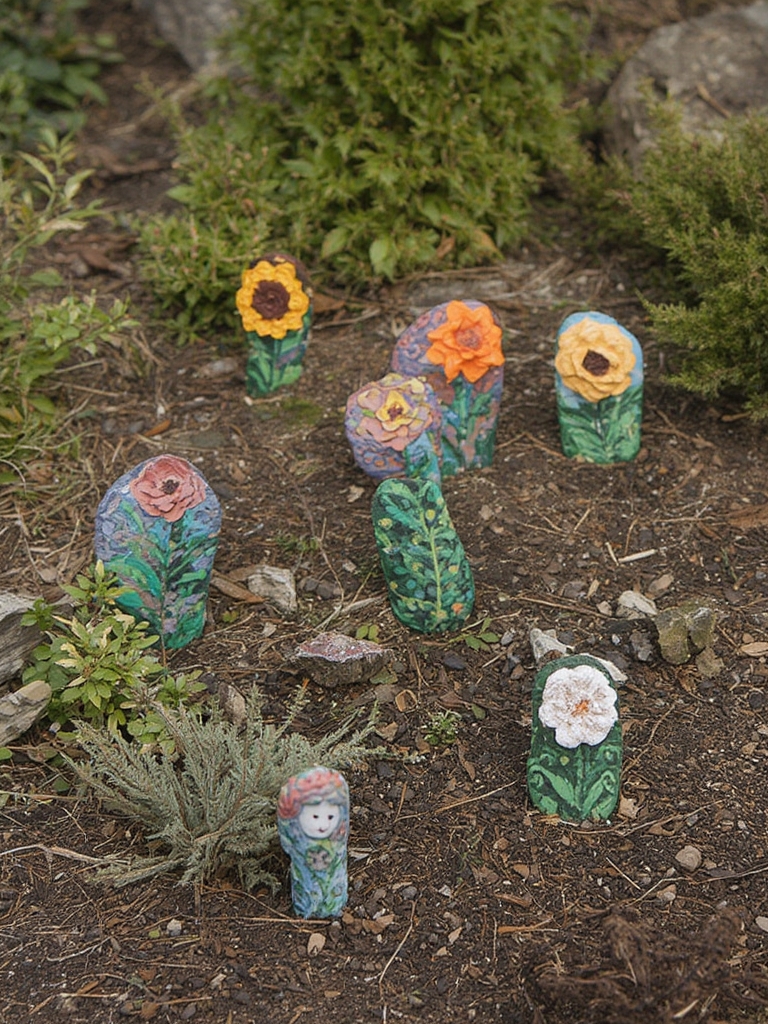
Add decorative elements: While concrete is still wet, press seashells, glass pieces, or other decorations into the surface. Arrange them in patterns or create a mosaic design.
Level and let set: Use a level to ensure your stones have a flat bottom. Allow to set for 24-48 hours, depending on humidity and temperature.
Remove from molds: Once completely dry, gently flip the molds over and tap to release the stones.
Finish edges: Use sandpaper to smooth any rough edges if needed
Seal your creation: Apply clear outdoor sealant according to product instructions to protect your stones and enhance colors.
Advantages
Creating your own stepping stones offers numerous benefits:
- Saves money compared to purchasing pre-made designer stones
- Allows for personalization with meaningful items or designs
- Creates a unique garden feature that can’t be replicated
- Provides a fun family activity that results in lasting garden elements
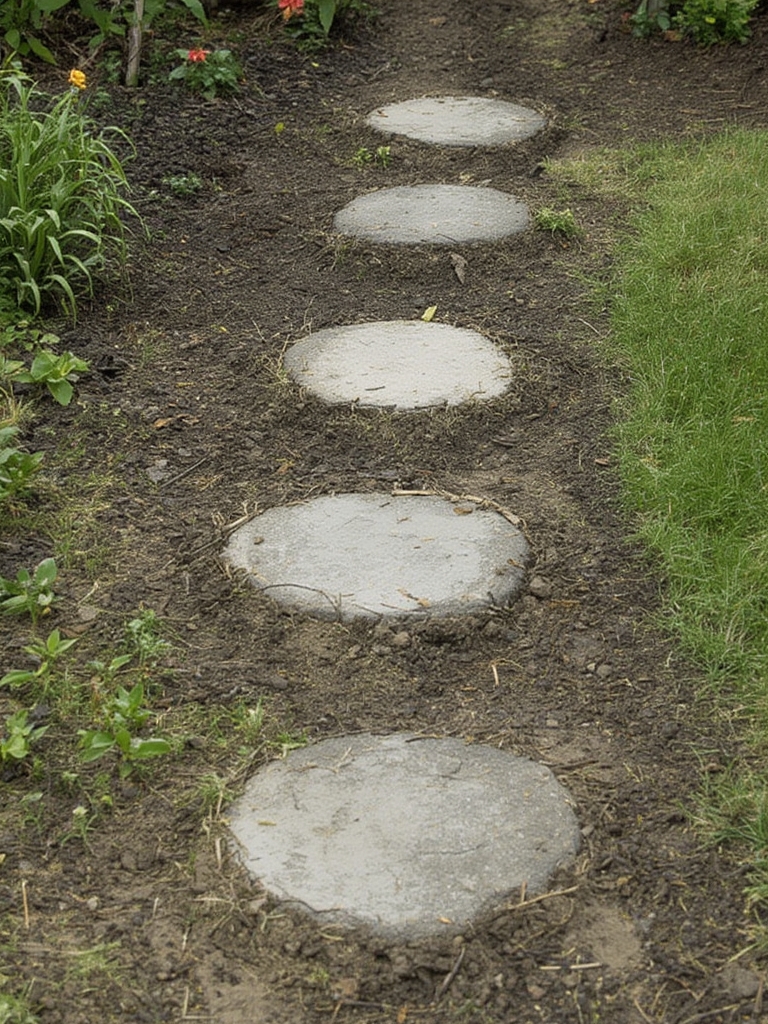
- Serves as practical garden pathways while preventing soil compaction
Tips, Alternative Methods, or Gardening Advice
- For lighter stones, add perlite to your concrete mix
- Create themed pathways using consistent colors or materials
- Try leaf-imprint stones by pressing large leaves into wet concrete, then removing when partially set
- For winter projects, allow stones to cure indoors before placing outside
- Consider making memorial stones with handprints or pet paw prints
Common Mistakes to Avoid
- Using too much water: Results in weak stones that crack easily. Follow package ratios closely.
- Removing from molds too soon: Wait the full curing time to prevent breakage.
- Forgetting to use a release agent: Makes removal from molds extremely difficult.
- Placing decorations too deeply: Items should be visible but secure in the concrete.
- Skipping the sealing step: Unsealed stones deteriorate faster in outdoor conditions.
Storage / Maintenance Tips
Keep finished stones in a cool, dry place until fully cured. Once placed in your garden, maintain them by:
- Hosing off dirt periodically
- Reapplying sealer annually
- Lifting and resetting if they sink into soil
- Keeping edges clear of aggressive ground cover plants
- Removing any stains promptly with a soft brush and mild soap
Conclusion
Creating your own stepping stones transforms an ordinary garden path into a personalized walkway that showcases your creativity. These durable DIY elements add both function and beauty to your outdoor space while providing an enjoyable craft project. Start with simple designs, then expand your skills with more intricate patterns as you gain confidence. Your garden visitors will surely appreciate these handmade touches that make your landscape uniquely yours.
FAQs
How long do homemade stepping stones last?
With proper sealing and maintenance, DIY concrete stepping stones can last 10-15 years outdoors.
Can I make stepping stones in cold weather?
It’s best to work when temperatures are above 50°F (10°C) for proper curing, but you can make them indoors and move them outside later.
What’s the ideal thickness for garden stepping stones?
Aim for 1.5-2 inches thick for standard garden pathways, or 2.5-3 inches if they’ll receive heavy foot traffic.
Can children help with this project?
Yes! Children can help design and place decorative elements while adults handle the concrete mixing and pouring.
How far apart should I place stepping stones in my garden?
For comfortable walking, place stones approximately 24 inches apart from center to center, adjusting slightly based on the average stride length of your household members.